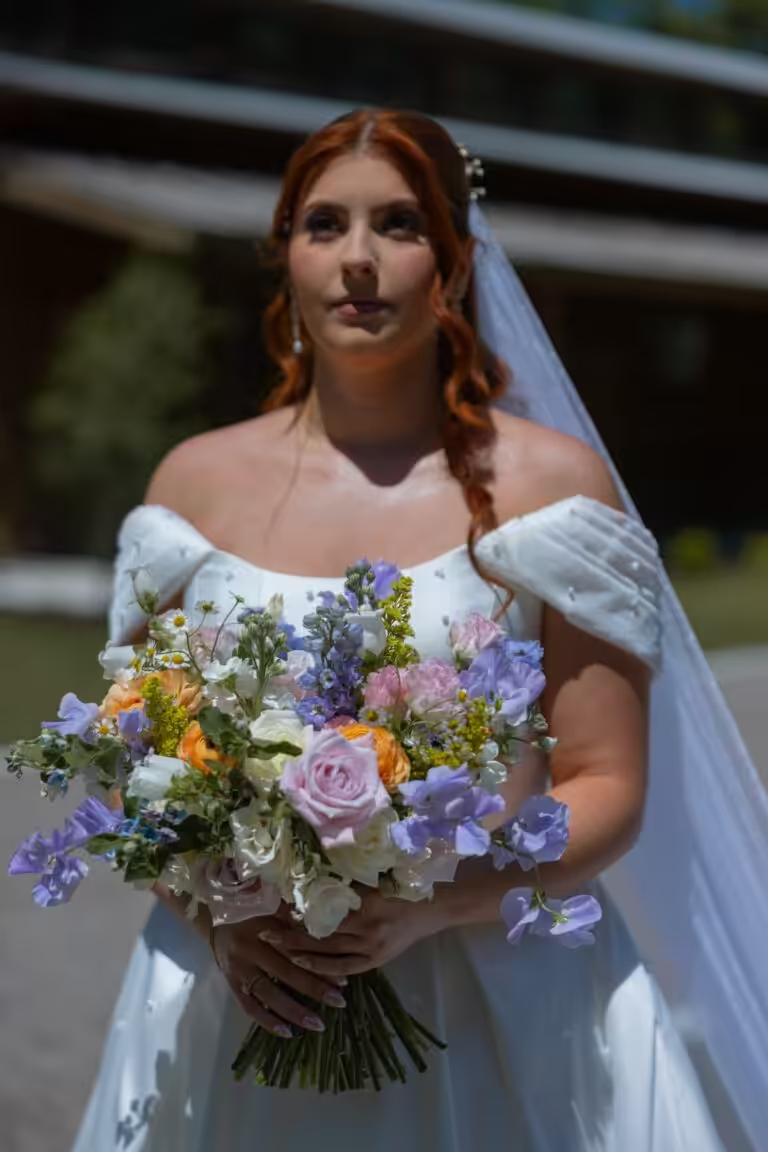
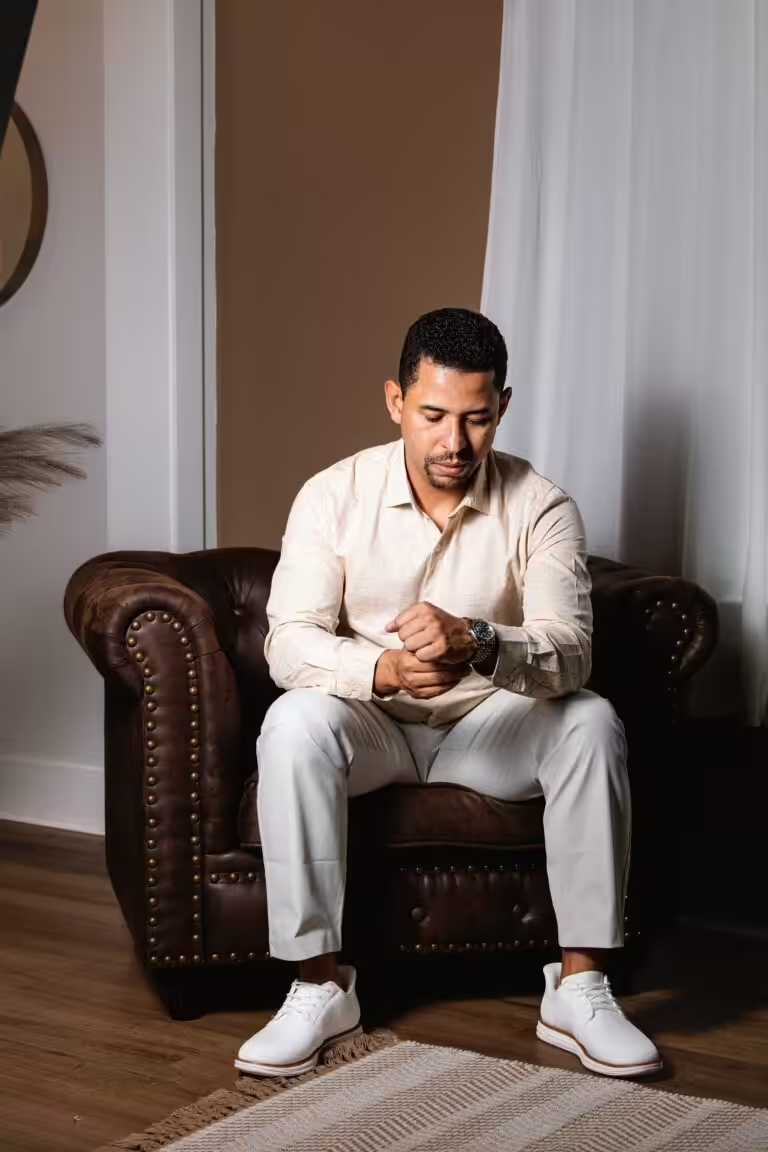

The prep step people overdo is rehearsing poses in front of a mirror. The one they skip is deciding what the photos are for. Nobody walks into a session knowing how to stand, and in a well-run shoot nobody needs to: the photographer tells you where to look and what to do with your hands.
Here is how to prepare for a photoshoot instead. Decide the purpose of the photos two to four weeks out, choose and test the outfits a week before, keep your hair and skin routine unchanged, pack the night before, eat and arrive a little early on the day, and leave the posing to us.
The steps below include the decisions that change the plan, and a checklist to print at the end.
Step 1: Decide what the photos are for (two to four weeks out)
Every other choice follows from this one. A portrait for a living-room wall, a set for a birth announcement and a headshot for a company website need different framing, backgrounds and outfits.
- If the image will sit on a website or a profile, tell us the page colors and the crop. A light page usually wants a light background, and a profile photo needs room around the shoulders so it can be cropped round or square.
- If it will be printed large, think about the room it will hang in. Colors in the outfits can pick up the colors of the wall.
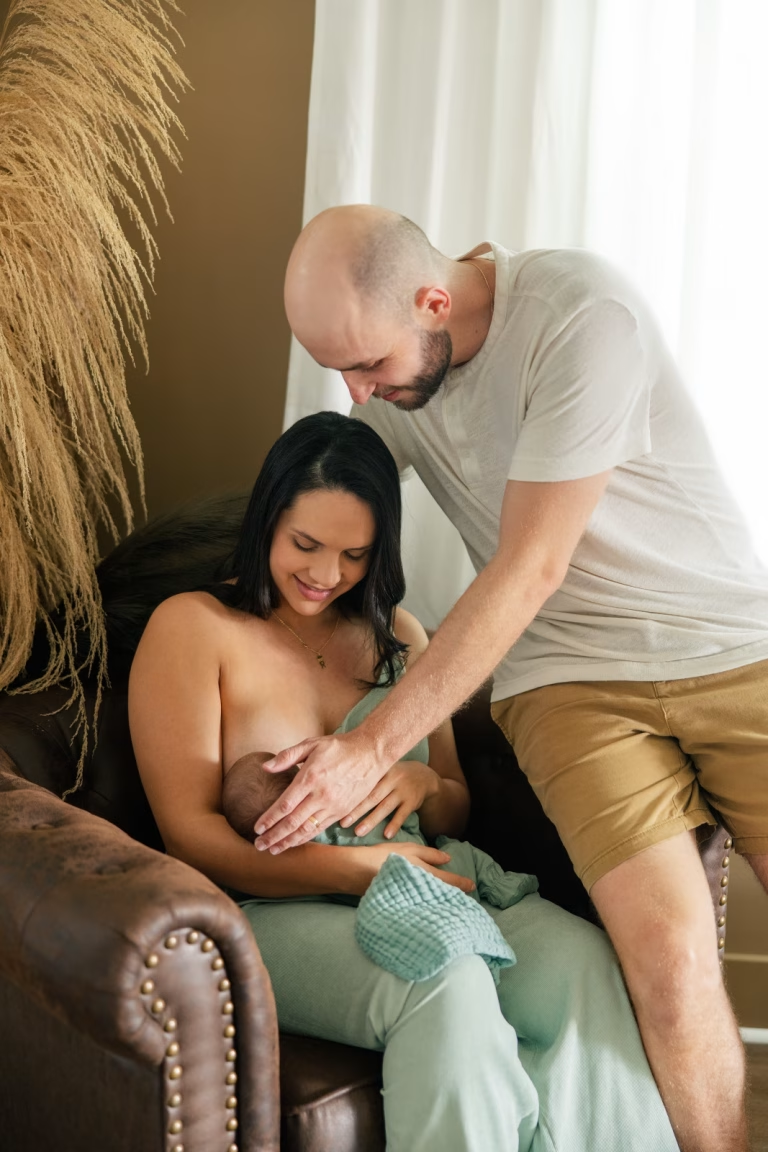
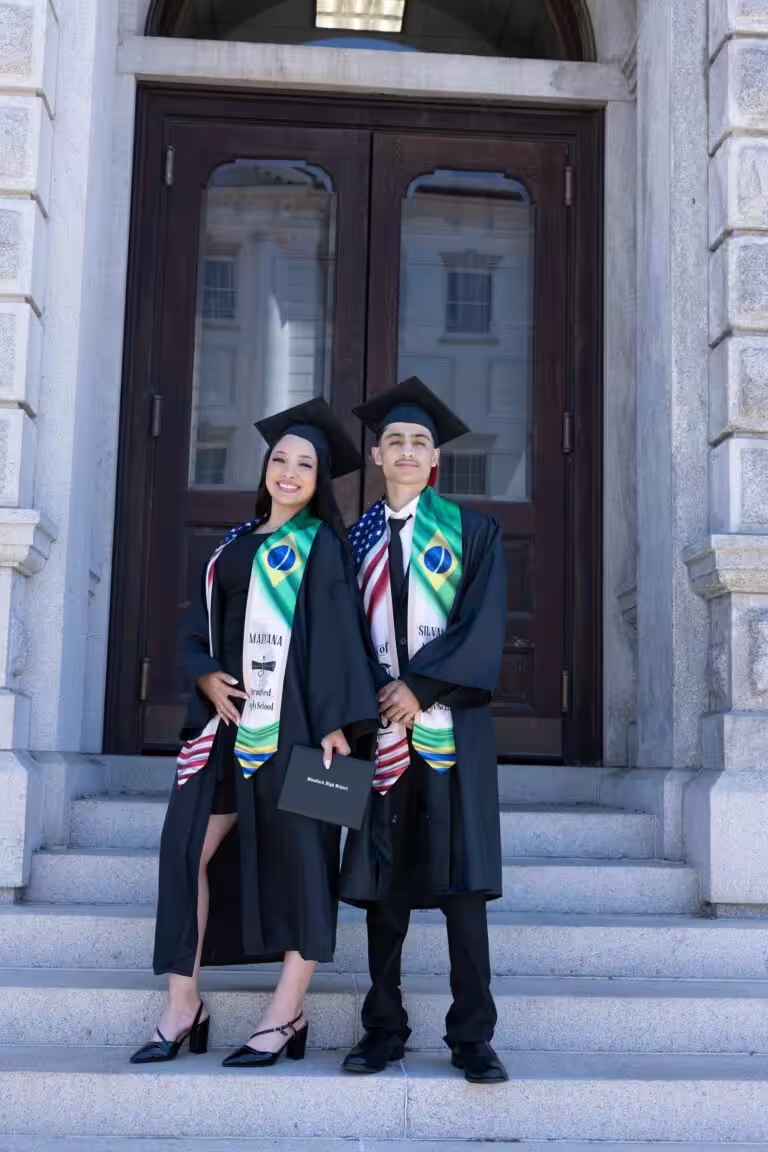
- If it marks an occasion, bring the object that tells the story: the diploma, the first shoes, the jersey, the ultrasound print.
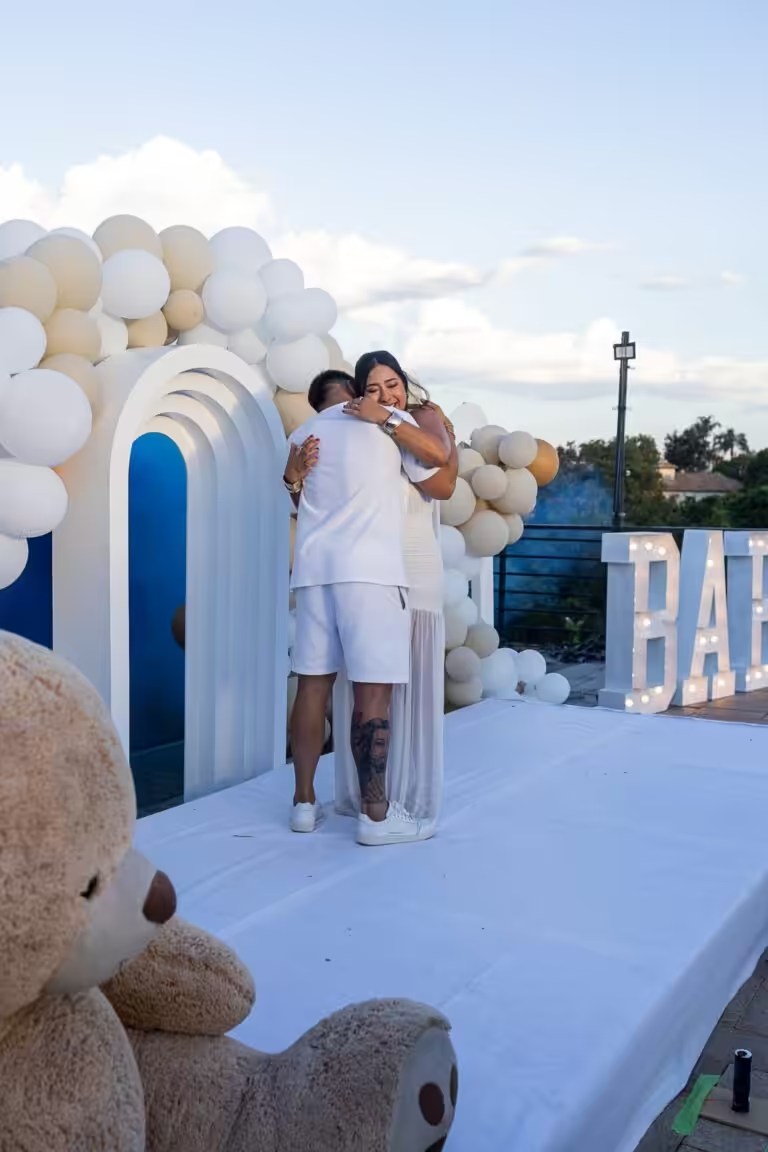
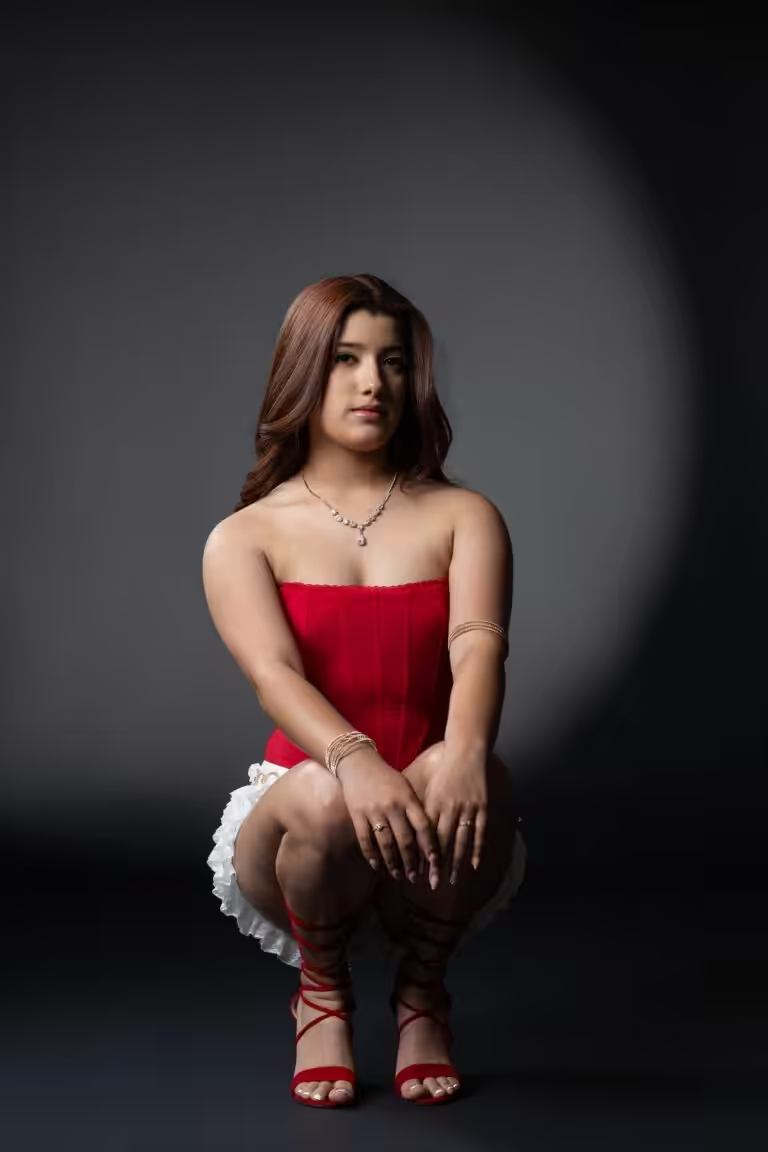
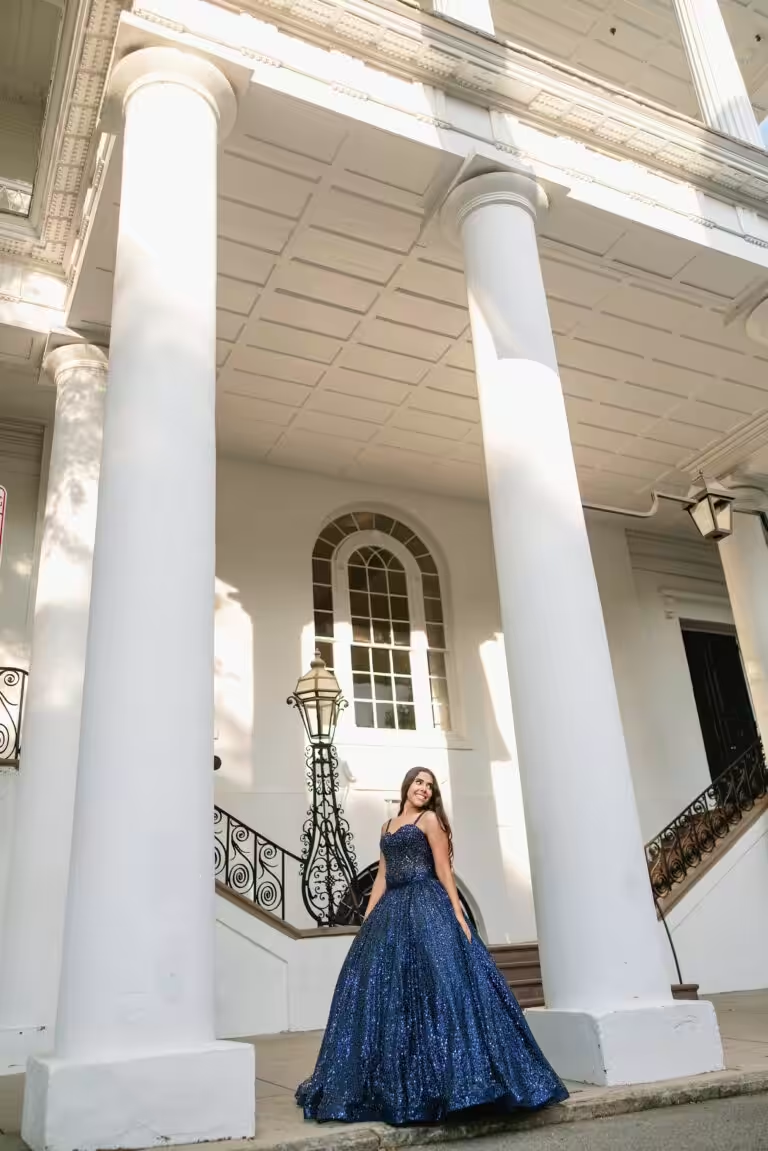
Decision point: studio or location. In the studio, the weather does not matter and the light is set before you arrive. Outdoors, the place adds meaning but the sky has a vote.
June through September are the wettest months around Charleston, each averaging more than 6 inches of rain, according to NOAA’s 1991–2020 climate normals. An outdoor date in those months should come with a backup date.
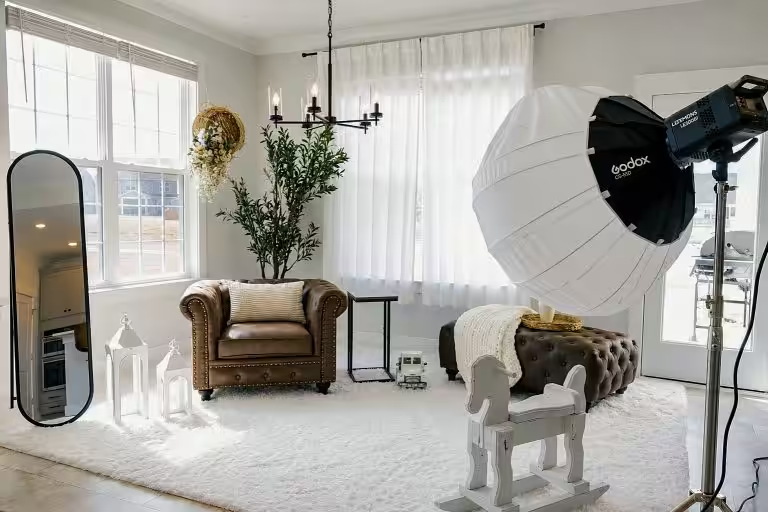
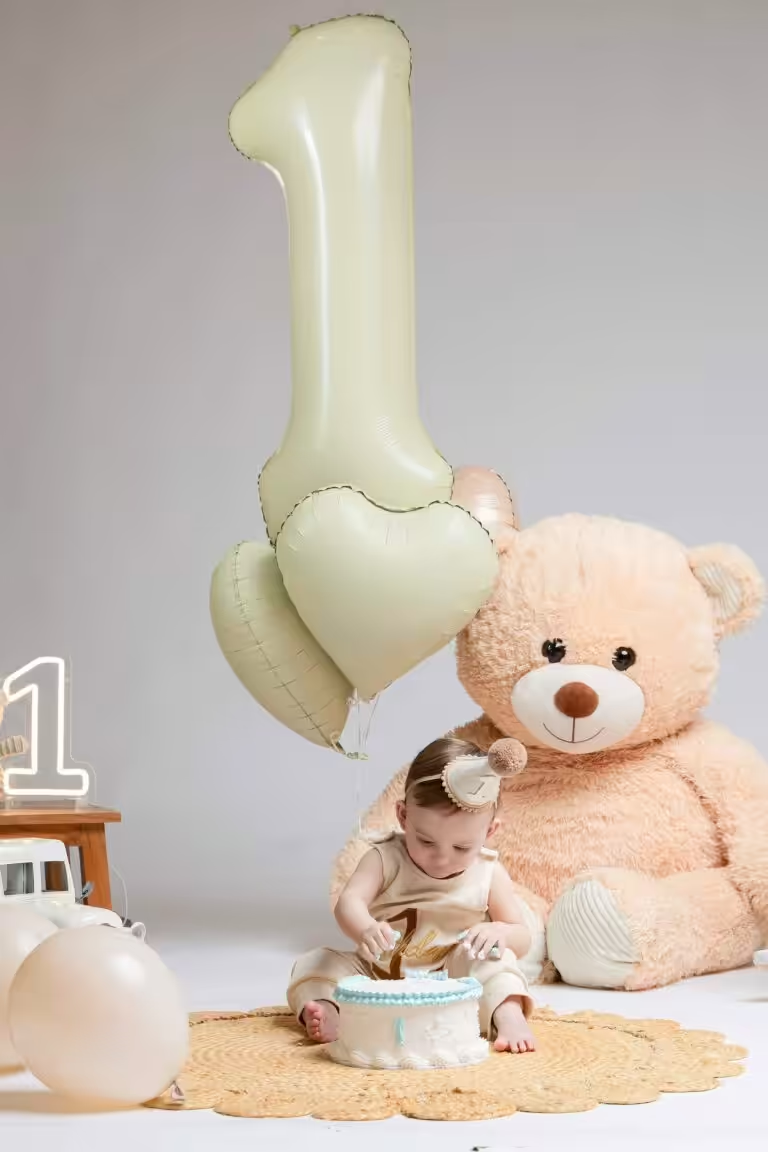
If you are leaning toward the studio, our studio photoshoot ideas show what each backdrop and set looks like.
Step 2: Choose the outfits and test them (one week out)
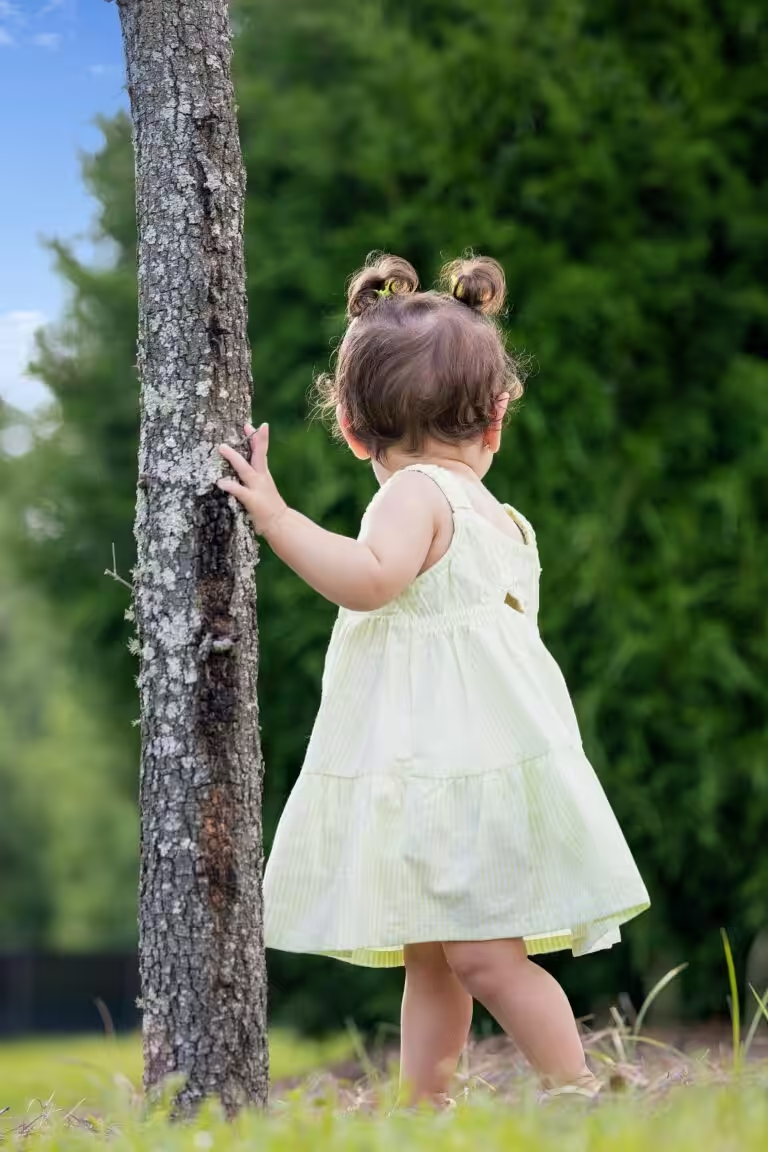
Pick clothes you would wear to an important meeting or a family celebration, not a costume. Solid colors and good fit photograph best. Large logos, busy patterns and anything you keep adjusting will pull attention from your face.
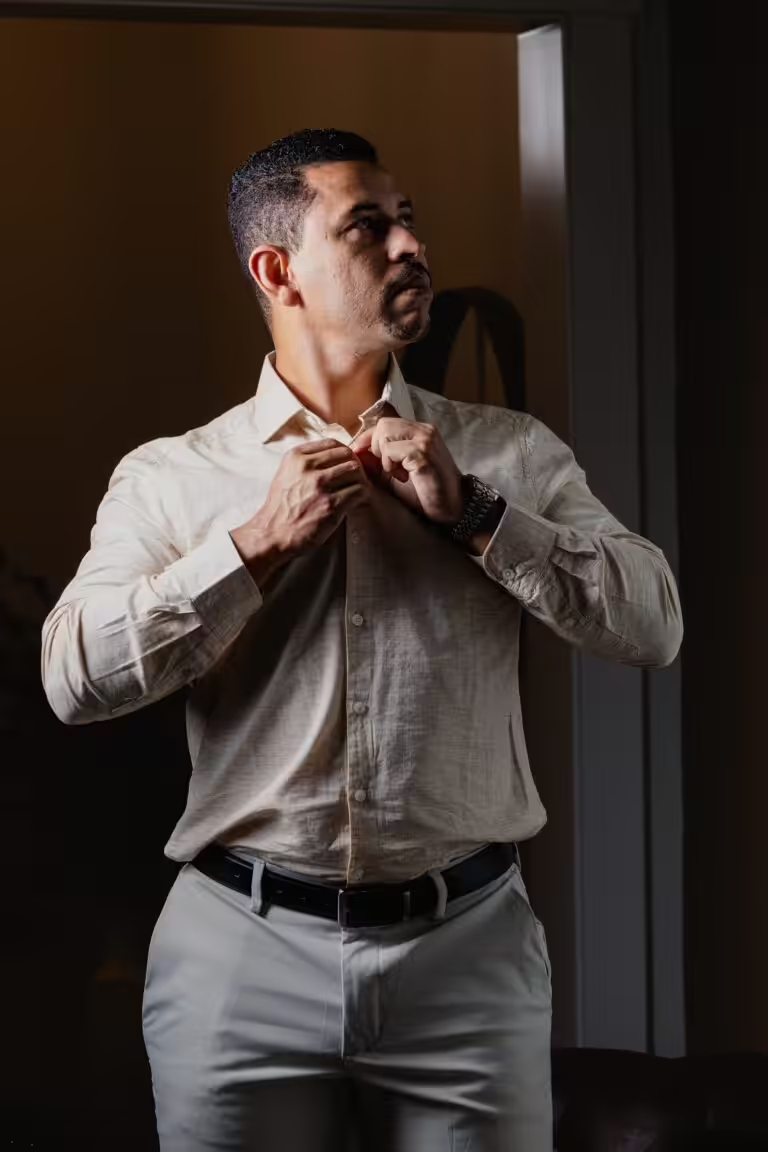
Then test everything a week ahead, not the night before:
- Try each outfit on, with the shoes and accessories you plan to use.
- Take a phone photo of it, and of the whole group together if more than one person is coming.
- Check the fit sitting down, not only standing. Many poses are seated.
- Steam or press everything, then hang it so it stays that way.
- Choose a second option, a jacket or a different top, for variety.
Your call: one look or two. A short session works best with one main outfit and one change. More than that and the time goes into changing instead of photographing.
Step 3: Keep your hair and skin routine boring (the week before)
This is not the week to experiment. A haircut a week before the session has time to settle; a haircut the day before often looks just cut. A new skincare product, a first-time treatment or a dramatic color change can leave you with a reaction or a look you did not plan.
Do what you normally do, a little more carefully. Sleep, drink water, and if you wear makeup, wear the version you know. Small blemishes and stray hairs are handled when we retouch, and we do not reshape faces or bodies, so there is no need to chase perfection the night before.
Step 4: Pack the bag the night before
Lay everything out in one place so the morning is calm. For most sessions, the bag holds:
- The outfits on hangers, already steamed, and the shoes for each.
- A brush, hair ties or pins, and makeup for touch-ups.
- A lint roller and a few safety pins.
- Water, and snacks for children that will not stain clothes.
- A spare outfit for each child.
- Any object that tells the story of the session.
After booking, we send preparation notes for your session, so the list above is a starting point, not the final word.
Step 5: On the day, eat, arrive early and let us direct
Eat a real meal beforehand and arrive a few minutes early, so nobody starts the session rushed or hungry. For young children, the best slot is after a nap and a meal.
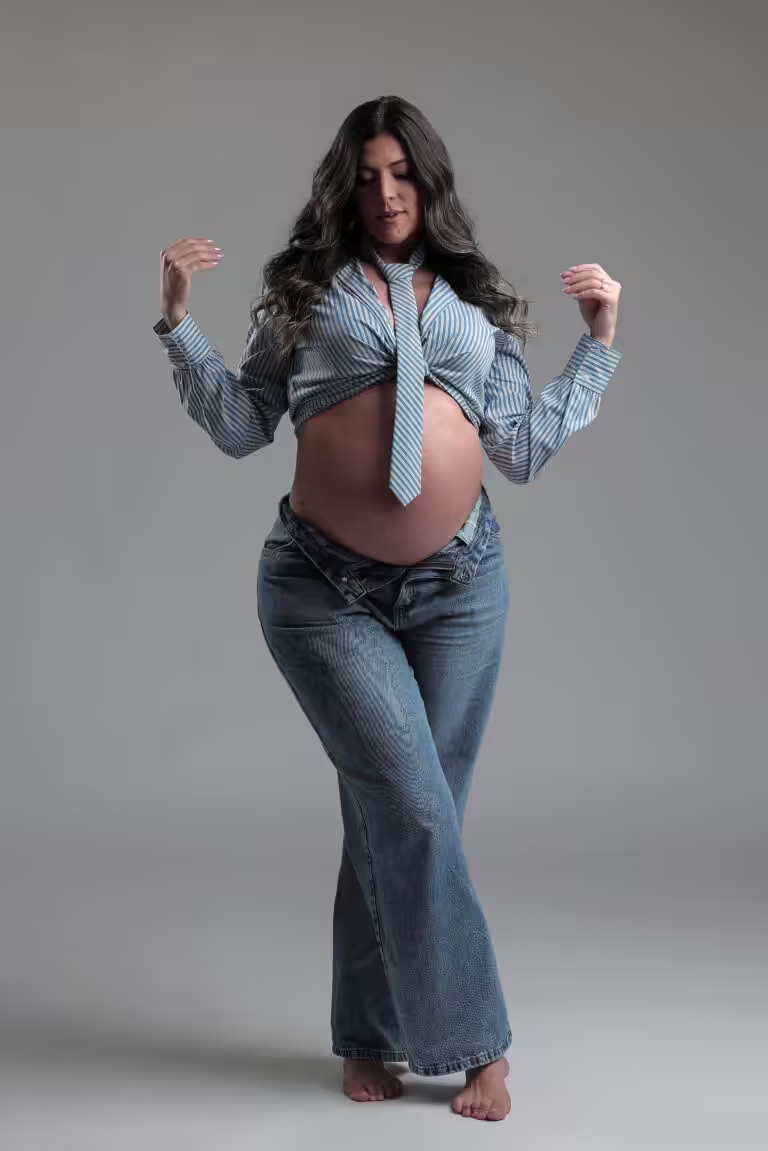
Once the session starts, your only job is to follow along. Poses are shown to you first, adjusted in small details and photographed quickly, so nobody holds a position for long. You can take a break between setups and ask to see the frames as they come in.
Sessions are directed in English, Portuguese or Spanish, and in our studio only one session is booked at a time, so the room is yours.
If a child melts down: Stop, feed, cuddle, and start again. The session moves at the pace of its youngest member, and a short break does more than pushing on.
Step 6: After the session
Every image we deliver is retouched by hand and shared in a private online gallery. Prints, albums and wall pieces are made to order. If the photos have a deadline, such as an announcement, a card or a website launch, tell us when you book so the timing is planned from the start.
The printable checklist
Print this, or keep it on your phone.
- Two to four weeks out: decide what the photos are for and where they will be used.
- Choose studio or location; set a backup date for outdoor sessions in summer.
- One week out: try on every outfit with shoes, photograph it, check it seated.
- Pick one main outfit and one change; steam and hang both.
- Get a haircut a week before, not the day before.
- No new skincare, treatments or color the week of the session.
- Night before: pack outfits, shoes, brush, touch-up makeup, lint roller, pins.
- Pack water, clean snacks and a spare outfit for each child.
- Bring the object that tells the story of the session.
- Day of: eat, arrive a few minutes early, and let the photographer direct.
Questions about any step can go through the contact form or by call or text to (843) 727-5264. When you are ready to pick a date, book a session at our Summerville studio, and Studio FB USA will send preparation notes for your session.