




The stance many people fall into when a camera points at them is also the one that looks stiffest in a photo: shoulders square to the lens, chin lifted, arms pressed to the sides and a smile held a beat too long. Good headshot poses undo those four habits in order.
Turn the shoulders and bring the face back, bring the chin slightly forward, give the hands a job or keep them out of the frame, and let the expression arrive instead of holding it. The steps below walk through each one, with decision points and examples from real sessions.
Step 1: Decide the crop before you pose
A headshot is the photo that ends up everywhere: a profile picture, the company website, an email signature, a proposal, a conference program. Each of those shows a different crop, and the crop decides which pose matters.
- Tight, head and shoulders: the face, the neck and the angle of the shoulders do all the work. Hands are usually out of the frame.
- Waist up: arms and hands are visible, so they need a place to go.
- Three-quarter or full length: stance, the way you sit and what you lean on all show.
At Studio FB USA the background is chosen for where the image will sit, a light ground for a light website and a dark one for a dark deck, with enough room around the shoulders for a designer to crop square, round or wide. Tell the photographer every place the photo will be used before the first frame.
Step 2: Turn your shoulders, then bring your face back
Facing the camera square makes the shoulders the widest thing in the picture. Turning the body a little away from the lens, then turning the face back toward it, gives the frame depth and a clear line from the shoulder to the eyes.
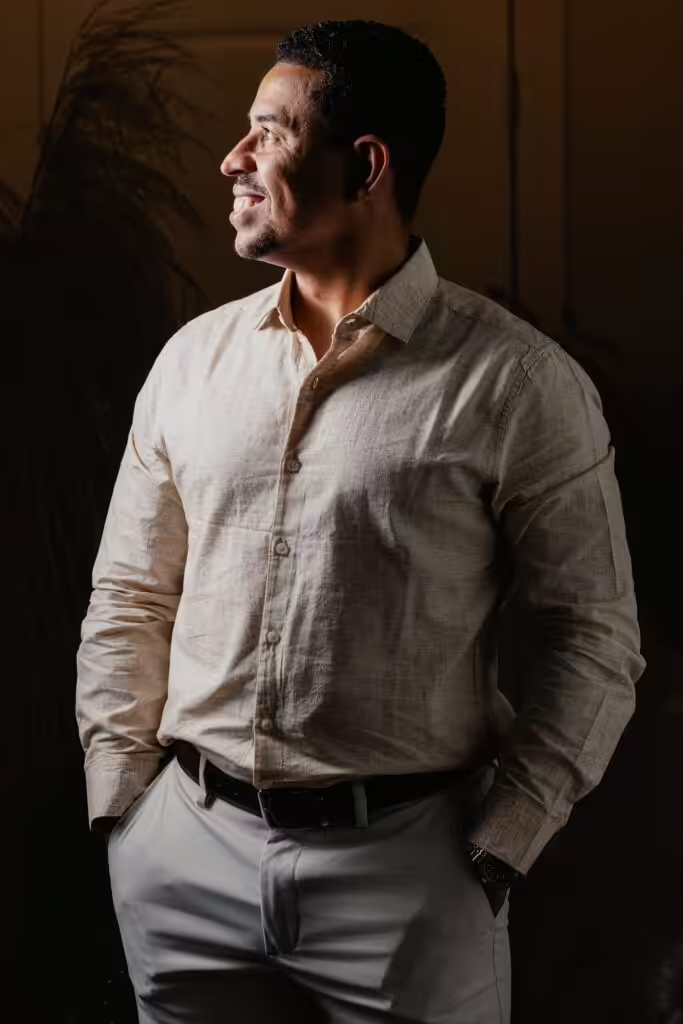
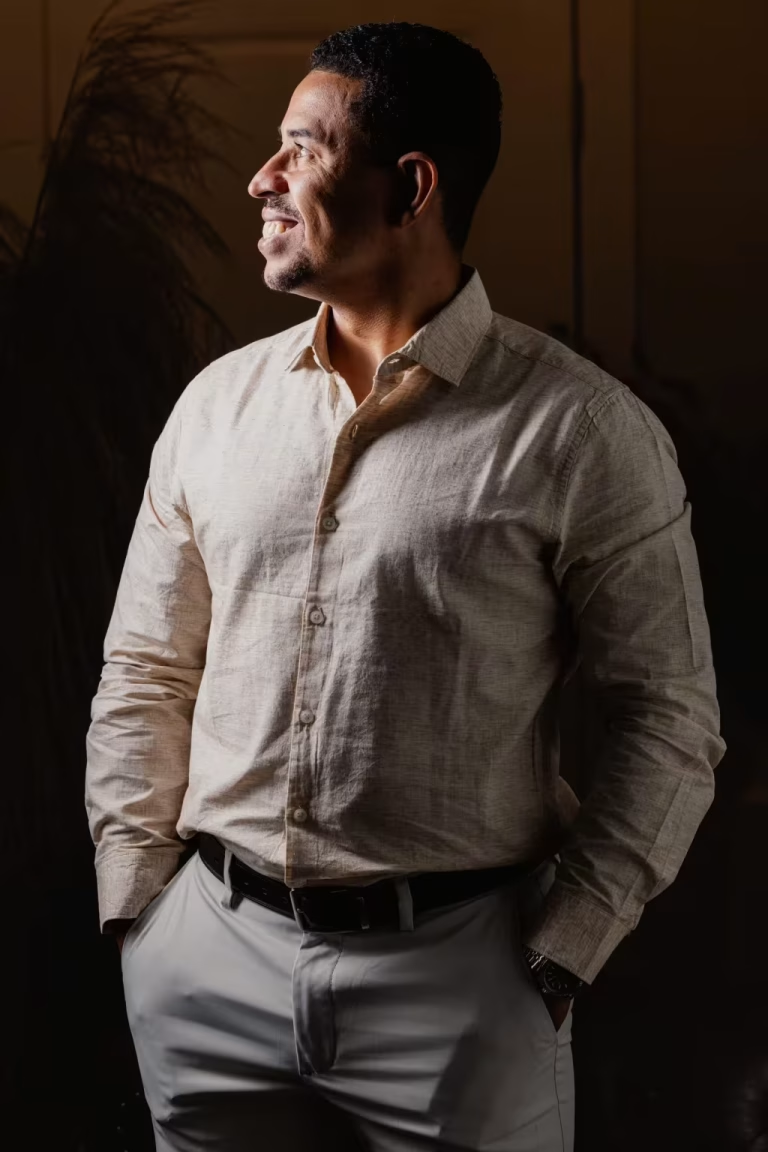
In this frame from Ramon’s branding session, the body is angled, the weight sits on one leg and the gaze goes off to the side. It reads relaxed and confident, the opposite of standing at attention.
Decision point: most people have a preferred side. If you know yours, say so; if you don’t, a few test frames on each side settle it quickly.
Step 3: Lengthen the neck and bring the chin forward
Lifting the chin to look confident usually does the opposite in a photo: it shortens the neck and points the nostrils at the lens. The fix is to lengthen the back of the neck and bring the face slightly forward and down, as if leaning in to listen. It feels odd from the inside and looks natural from the camera.
Drop the shoulders at the same time. A slow breath out before a frame is the simplest way to stop them creeping up toward the ears.
Step 4: Give your hands a job, or leave them out
Hands become a problem only when they are in the frame with nothing to do. In a tight headshot they simply stay out of the crop. In a wider frame, give them something real to do:
- One hand or both in pockets, thumbs out.
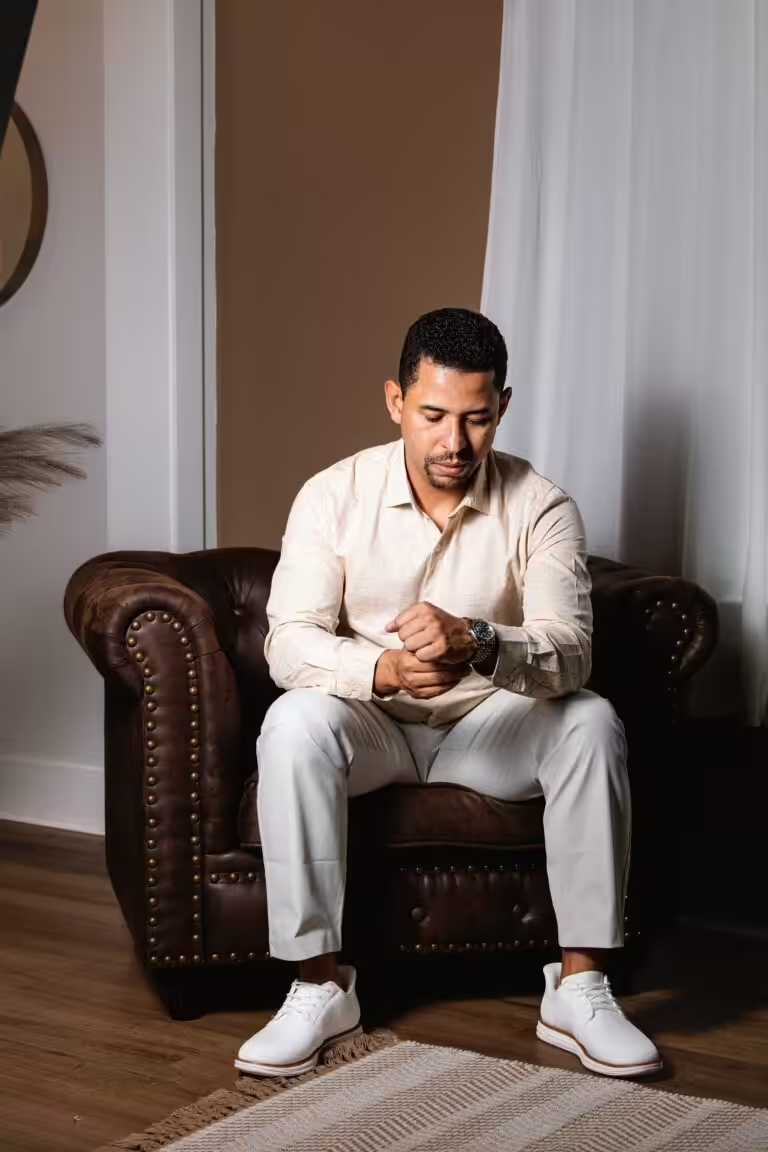
- Adjusting a cuff, a watch or a jacket button.
- Resting on the back of a chair or on a table edge.
- Arms loosely crossed, with a relaxed face, so the pose reads open rather than defensive.
- A hand near the collar or chin, light and not pressing into the face.

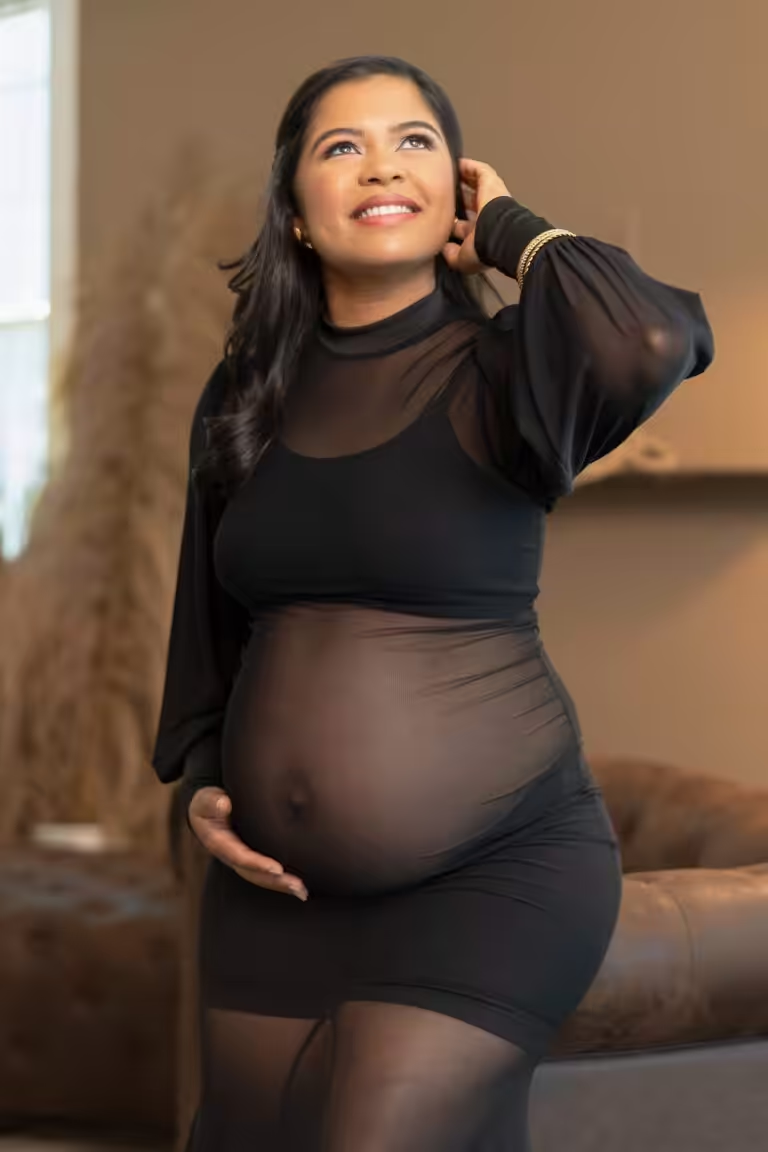
In Gabi’s branding session, the chair back gives the hands a natural resting place and brings the body slightly forward toward the camera, which turns a waist-up frame into a calm, approachable portrait.
Step 5: Let the expression arrive
A held smile looks held. The expression that works is usually the one that shows up after the first few minutes, once the nerves settle and the conversation starts. At Studio FB USA, finding it is described as the photographer’s job, not yours, and frames are reviewed on the spot so you can see what is working.
It is worth the patience.
In a 2006 study published in Psychological Science, people’s judgments of a face after seeing it for a tenth of a second were closely related to the judgments they made with no time limit at all (Willis and Todorov, 2006). A headshot is often seen exactly that briefly, in a list of profiles or search results.
Decision point: smile or not? Take both. A closed-mouth, relaxed expression and an open, warm one cover most uses, and you can choose later with the pictures in front of you.
Five poses from real sessions, compared
All five poses below come from two sessions photographed by Studio FB USA. Each one says something slightly different, which is why a session usually covers more than one.
| Pose | How it reads | Works well for | Seen in |
|---|---|---|---|
| Standing, hands in pockets, looking off to the side | Relaxed, at ease | About pages, speaker bios | Ramon’s session |
| Arms loosely crossed, smiling at the camera | Confident and friendly | Websites, social profiles | Ramon’s session |
| Seated forward in an armchair, adjusting a cuff | Thoughtful, unposed | Feature images, articles, headers with space for text | Ramon’s session |
| Leaning on the back of a chair, hands crossed | Calm and approachable | Profile photos, proposals | Gabi’s session |
| Hand near the collar, laughing | Warm, personable | Social media, personal brands | Gabi’s session |
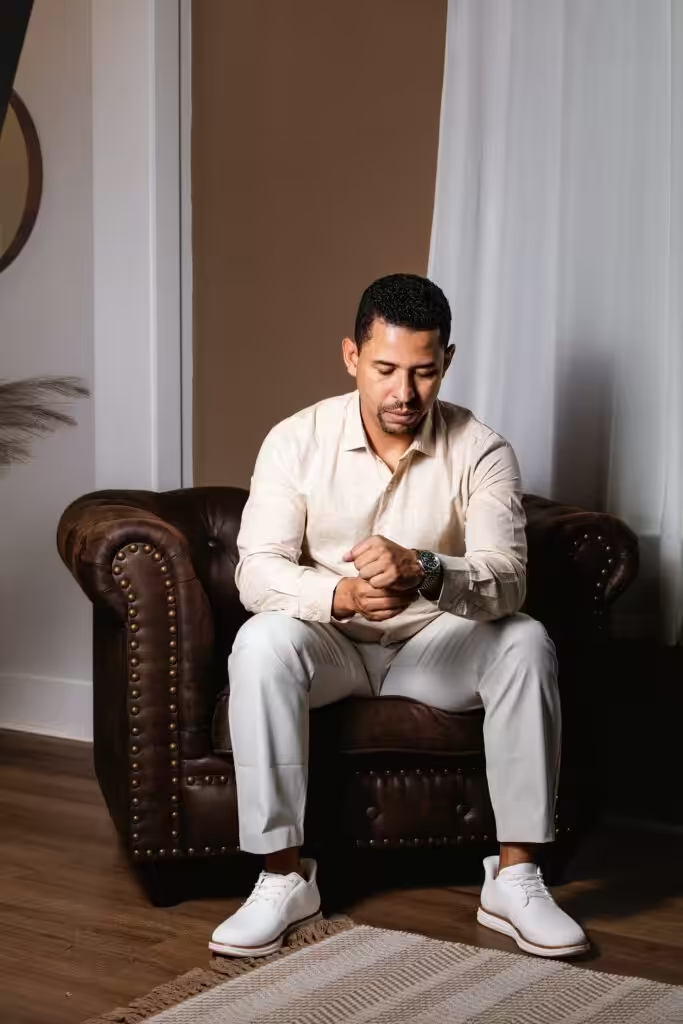
The seated frame above shows how much the setting can carry: a leather armchair, a rug and window light. Leaning forward from the hips keeps a seated pose alert rather than slumped.
Matching the pose to where the photo will live
- Small profile photos: a tight crop, angled shoulders, chin forward, direct eye contact. Small details disappear at that size, so the face has to do the work.
- Website and about pages: waist-up or seated frames with a little space beside you, so a designer can place text.
- Printed materials and signs: a simple, direct pose against a clean background reads from a distance.
- Social media: more movement and expression, such as a laugh, a lean or a look away, mixed with one classic frame.
If several of these apply, plan a short sequence of poses for each one rather than one pose for everything. The page on professional headshots in Charleston explains how a session is planned around those uses.
Posing a whole team the same way
For a team page, consistency beats variety. One background, one lighting setup, one framing and one editing pass applied to everyone keeps the page looking like one company. The pose follows the same rule: agree on one main pose for everyone, plus an optional second one, and repeat it the same way when new people join.
Whether the session is for one person or the whole office, at the studio in Summerville or at your workplace, you can book a headshot session with Studio FB USA and the posing will be directed from the first frame.