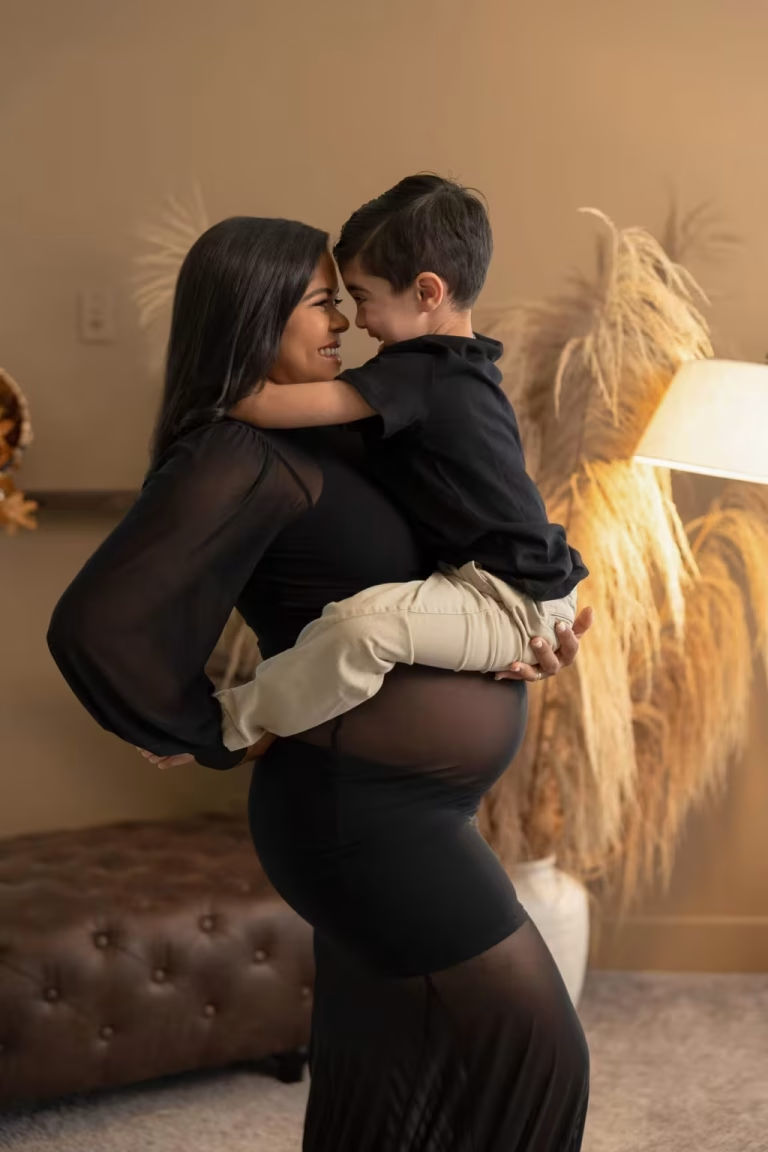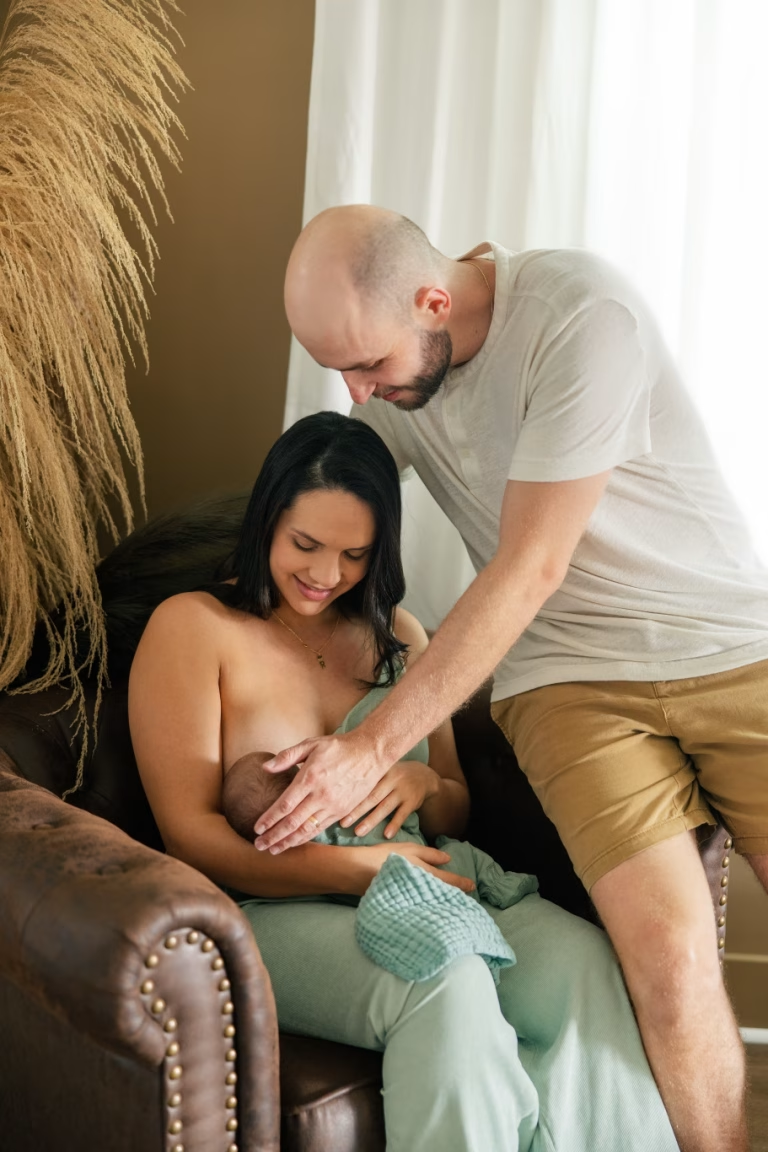
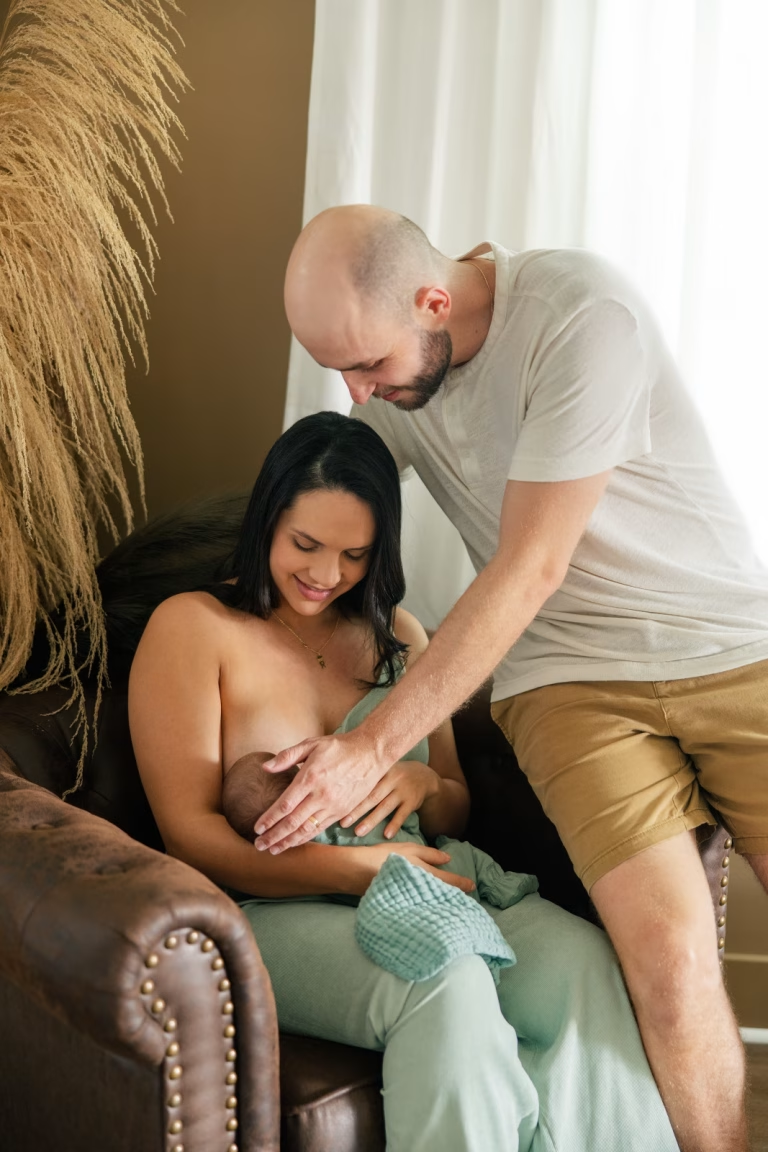






The worry many expecting mothers bring to a session is not the dress. It is the hands, and the angle of the belly. As our own studio notes put it, very few people know what to do with their hands in front of a camera.
The maternity photo poses that flatter a pregnancy are built the same way every time: choose whether you stand, sit or move, turn the body so the belly shows in profile, let the hands frame the belly instead of pressing on it, then set the chin and the eyes.
The steps below follow that order, with photographs from our own sessions and a checklist to bring on the day.
Step 1: Decide whether you stand, sit or move
This first choice depends on how you feel that day, not on the pose you saved online.
- If you feel steady on your feet: start standing. Standing poses show the full shape of the pregnancy and suit long dresses.
- If your back or legs tire quickly: start seated and stand only for a few frames. Every standing pose below has a seated version.
- If you freeze in front of a camera: start moving. A slow walk gives natural frames because you are doing something instead of holding still.
Whatever you choose, no position needs to last long. The American College of Obstetricians and Gynecologists (ACOG) advises pregnant women to avoid standing still for long periods, which can let blood pool in the legs and feet, and notes that the extra weight in front shifts the center of gravity and makes it easier to lose balance.
Our maternity page is built around the same idea: each setup is demonstrated, corrected in small details and photographed fast enough that no position has to be held.
Step 2: Turn the body to show the curve
A pregnancy reads best from the side. Facing the camera straight on hides the shape of the belly; turning shows it.
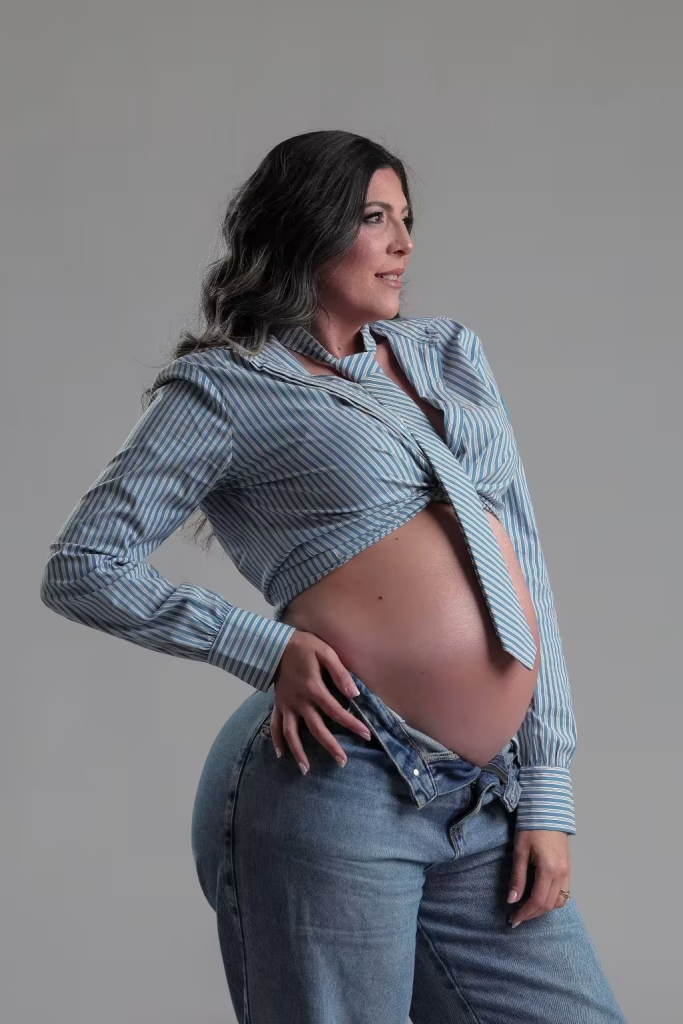
At the top of this page, a mother in a striped shirt and jeans stands against a plain gray backdrop.
Her body is turned about three quarters away from the camera, one hand on her hip and the other at the waistband, and she looks back over her shoulder. The turn shows the full curve of the belly; the look back keeps her face in the frame.
To build it: turn your shoulder away from the camera, put your weight on the back leg, bend the front knee slightly, then bring your face back toward the lens. The small bend at the knee is what makes the stance look relaxed rather than stiff.
For a full profile, turn all the way to the side, drop the shoulders and bring the chin slightly forward so the neck does not fold. In the studio, the light does the rest.
The studio notes on the page for Stefany’s maternity session describe it: a soft, wide source keeps skin luminous, while a narrower, directional light traces the curve of the belly.
Step 3: Let the hands frame the belly
Hands frame the belly; they do not flatten it. One hand rests near the top of the bump and the other below it, fingers relaxed and slightly apart, with no pressure on the skin. Pressing in changes the shape of the belly in the picture.
Three variations keep a gallery from repeating itself:
- One hand under the belly, the other on your hip, pushed slightly back so the elbow makes a triangle of space.
- One hand at the waist, the other lifted toward your hair or brow, which brings the eye up to your face.
- Both hands off the belly and holding something that matters to you, such as an ultrasound print, a tiny pair of shoes or a blanket.
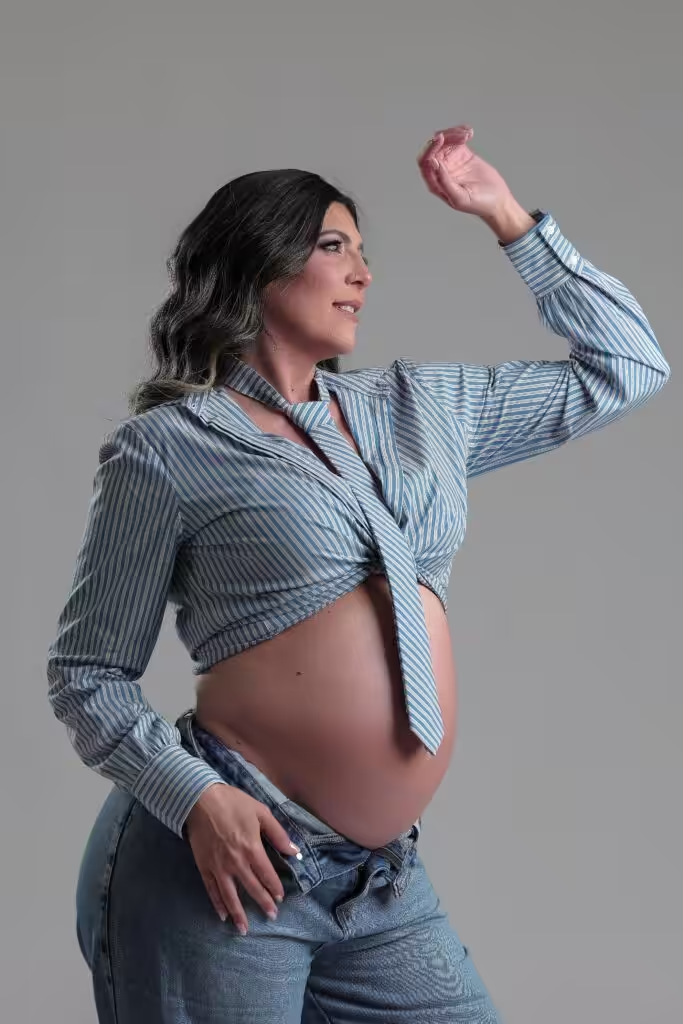
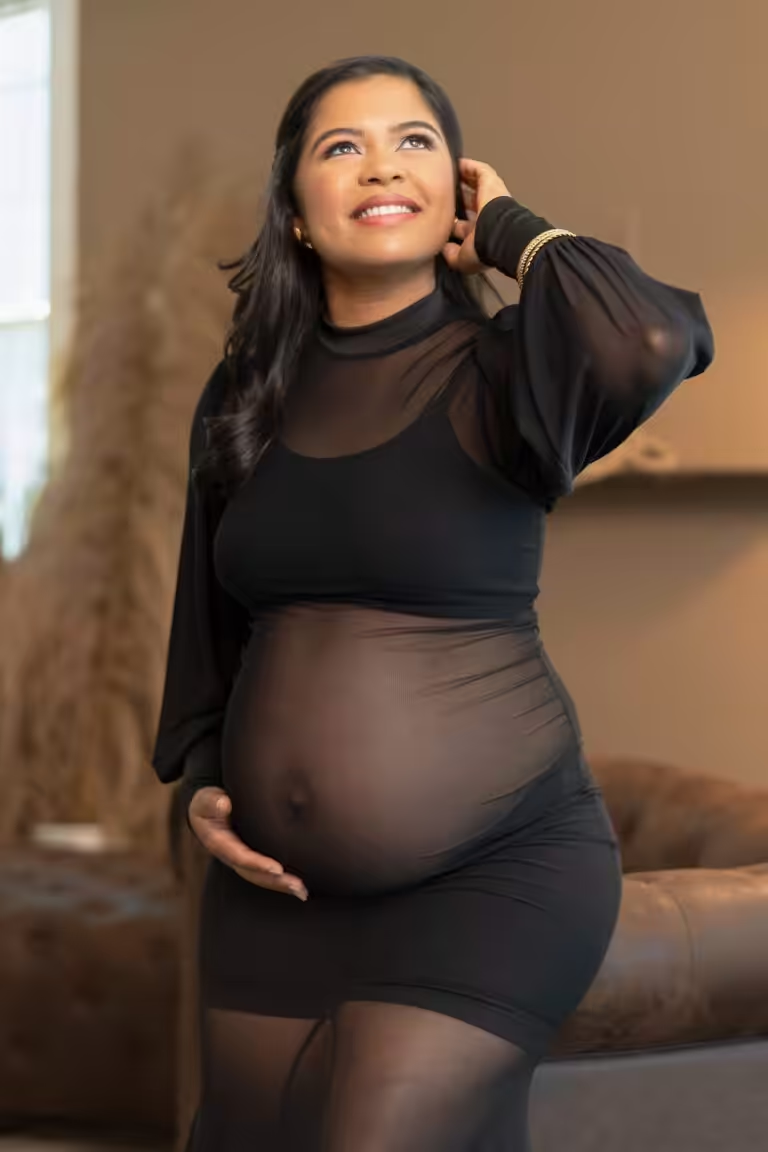
The second variation is the frame above, from Amanda’s maternity session: body in profile, one hand at the waistband, the other raised near her head, eyes toward the light. The lifted arm opens the shape of the body and leaves the belly completely clear.
If you wear rings, the hand on the belly is where they show. Rings that fit tightly late in pregnancy can be left off without anyone noticing.
Step 4: Set the chin and the eyes
Once the body and hands are placed, the eyes change the whole mood of the frame. The same stance gives three different photographs:
- Eyes down to the belly: quiet and private, the classic maternity frame.
- Eyes toward the light or out of the frame: thoughtful, as in the photo of Amanda above.
- Eyes to the camera: direct and warm, the one relatives usually want framed.
For a silhouette, with the light behind you so only the shape remains, tilt the head slightly up and keep a little space between the arms and the body so the outline does not merge into one dark shape. A long dress or a sheer layer reads well in silhouette; a busy pattern disappears.
If standing is tiring: the seated versions
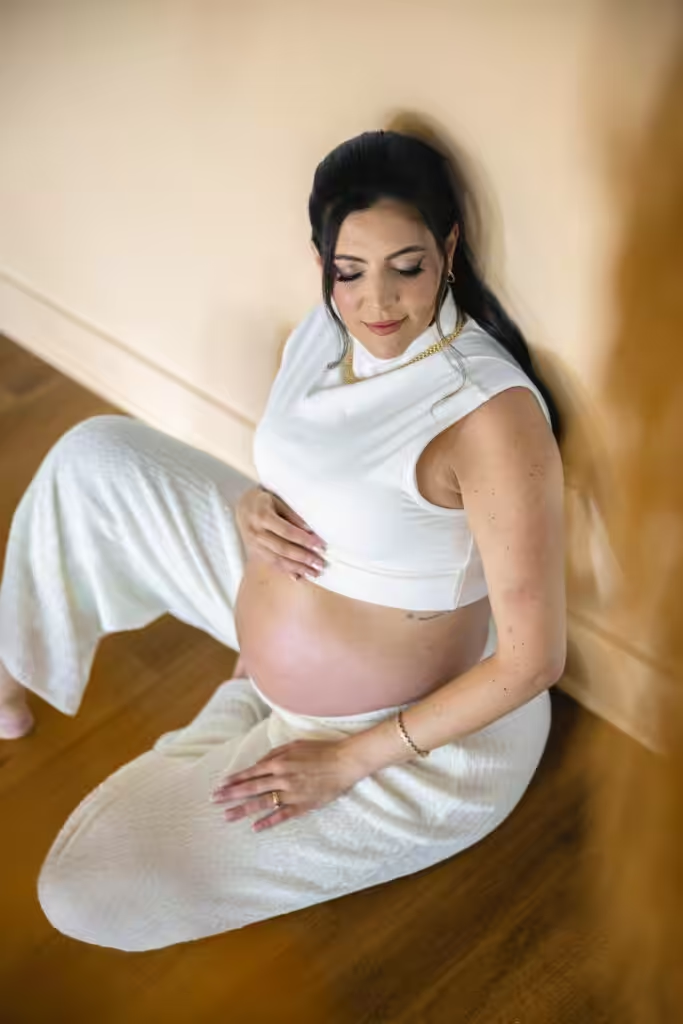
In this later frame from the same session, Amanda sits on a wooden floor with her back near the wall, legs folded to one side, one hand on the belly and the other resting on the floor, eyes down. Sitting upright with the legs to one side keeps the belly visible; sitting cross-legged and leaning forward hides it.
Some popular poses have you lying on your back for a shot from above. Keep those brief.
ACOG advises pregnant women to avoid lying flat on the back as much as possible, because the uterus presses on a large vein that returns blood to the heart, which can lower blood pressure for a short time. Lying on your side, propped on an elbow or a pillow, gives a similar picture.
Step 5: Add movement outdoors

Outside, movement does part of the posing. A slow walk toward or past the camera, a turn that lets a long skirt swing, a few steps through tall grass: each one gives natural frames.
In the frame above, from Stefany’s session, she walks barefoot across a field holding her skirt off the grass, with her partner a few steps behind and the foreground grass left soft.
Around Charleston, the setting changes the plan. Our maternity page points to marsh light, oak shade and open water, scheduled by the hour before sunset rather than by the clock, and notes that coastal humidity peaks in midsummer, while October and early spring are the kindest months for standing outside in a long dress.
A pose checklist to bring to your session
Print this list or save it on your phone, and mark the frames you care about most. It gives the photographer your priorities in one look.
- ☐ Three-quarter turn, looking back over the shoulder
- ☐ Full profile, eyes down to the belly
- ☐ Full profile, eyes toward the light
- ☐ Hands above and below the belly
- ☐ One hand lifted to the hair or brow
- ☐ Holding a keepsake: ultrasound print, tiny shoes, a blanket
- ☐ Seated on the floor, legs to one side
- ☐ Silhouette against a window or the sunset
- ☐ A slow walk, outdoors or across the studio
- ☐ Frames with your partner, children or dog
When your partner or children join
When children come along, our sessions photograph the family frames first, while the children are fresh, and the mother’s portraits continue afterwards. Partner poses, from the hold from behind to the walk, have their own guide: couple maternity photos, with the same studio’s photographs.
Posing is the photographer’s job
You do not need to memorize any of this. You will be told where to stand, where to look and what to do with your hands, and between setups you can sit, drink water and look at the back of the camera. Our editing evens skin and removes distractions without reshaping anyone’s body.
If you would like a Summerville maternity photographer who directs every frame in English, Portuguese or Spanish, tell us how many weeks along you are and whether you picture the studio, the outdoors or both, and check maternity dates with Studio FB USA.