






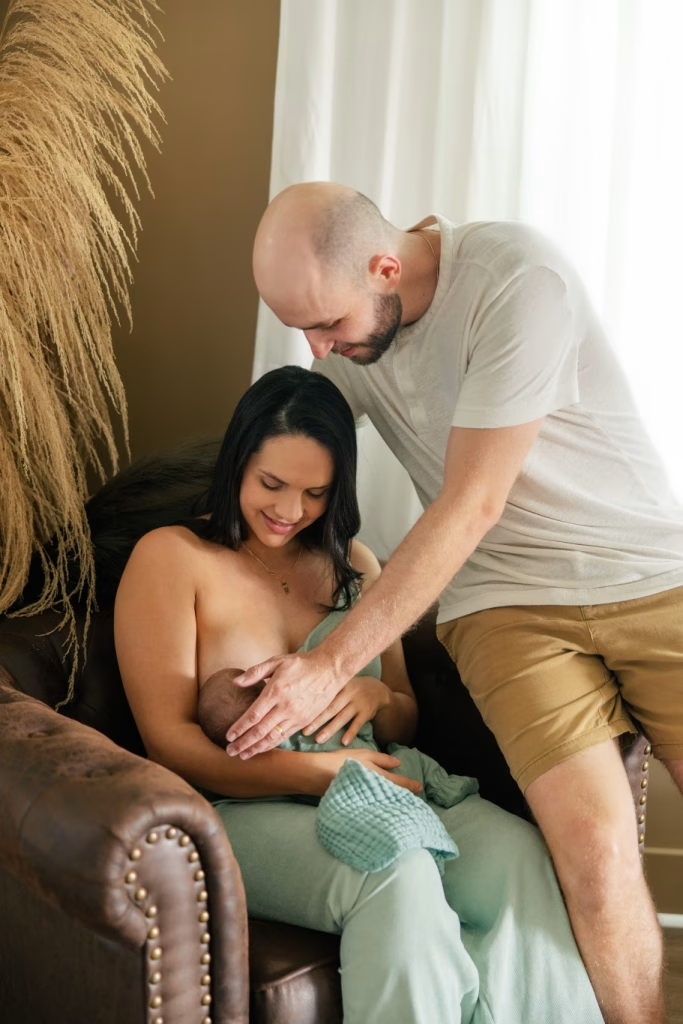
A newborn photoshoot at home has more in common with a baby’s bath than with a photo shoot: the room is warmed first, everything you need is within reach before you start, and one adult hand is never far from the baby.
Yes, you can do it yourself with a phone and a good window. Feed the baby, warm the room, keep the baby low and wrapped, and photograph the moments you already live: holding, feeding, the tiny hands and feet.
What you should not copy are the curled, propped poses from professional galleries. In a professional studio, those frames are composites, made from pictures in which someone was always holding on.
What works at home, and what to leave to a studio
Before setting anything up, decide which pictures you are going after. That one decision removes most of the risk.
| Works well at home | Leave to a newborn studio |
|---|---|
| The baby wrapped and lying on their back, photographed from above | Chin on hands, or any pose where the baby seems to hold their own head up |
| The baby in a parent’s arms, by the window | Babies placed in baskets, bowls or crates raised off the floor |
| Close-ups of hands, feet, ears and hair | Anything hanging, such as slings from branches or poles |
| A feed, a burp, a yawn, a sibling looking in | Deeply curled poses that need a specially heated room and long settling |
| The crib, set up the way you will really use it | Props stacked or balanced around the baby |
The right-hand column is not a list of things professionals do casually. In our sessions, hands stay on the baby at every moment, and the poses that appear to defy gravity are assembled afterward from frames in which somebody was holding on. Nothing is balanced and nothing is propped; our article on newborn photography safety myths explains how.
The left-hand column is close to what a lifestyle session looks like anyway. If you are still deciding between the two looks, the comparison in lifestyle vs posed newborn photography will help.
Step 1: choose the room by its window
Pick the room with the largest window, not the prettiest nursery. Soft daylight from one side is what makes skin look like skin, and it is free.
- Use the hours when that window is bright but the sun is not shining straight onto the floor. A direct sunbeam on a newborn is harsh in a photo and hot on the skin.
- Turn off the ceiling lights and lamps. Mixed light gives faces an orange or green cast that is hard to fix.
- Place the baby so the window is to one side, not behind the baby and not behind you.
- Clear the background: one plain blanket or sheet does more than a styled corner.
Decision point: if no room has a decent window, or the house is mid-move, a studio session removes the light from the equation.
Step 2: warm the room before the baby is undressed
A baby in a diaper and a thin wrap needs a warmer room than you do, so turn the heat up before the clothes come off. Adults should feel slightly too warm in a T-shirt.
Warm is not the same as hot. The NIH’s Safe to Sleep campaign lists the signs that a baby is too hot: sweating, flushed or red skin, or a chest that feels hot to the touch. If you see any of them, open the wrap, cool the room and take a break.
Step 3: keep everything low
Most home setups put the baby on a bed, a sofa or a table because that is where the light is. The floor is the safest set in the house; a bed works only with an adult kneeling right beside the baby; sofas and tables do not work at all.
Pediatricians’ advice about changing tables applies directly here. The American Academy of Pediatrics notes that falls from a high surface can be serious, and says never to leave a child unattended on one, even for a moment, even when strapped in (HealthyChildren.org).
Even a baby too young to roll can startle or wriggle, and a parent turning to grab the phone is all it takes.
- The floor, on a folded blanket over a firm mat, with nothing that can fall onto the baby.
- A firm bed, with an adult’s hand within reach the whole time.
- Never a sofa seat or arm, a table, a counter or a dresser.
There is a second distinction worth making. A soft blanket on a bed is fine for a few photos with you right there, but it is not a place to sleep.
The same campaign says soft surfaces, such as couches, pillow-top mattresses and thick blankets, and inclined surfaces are not safe for babies to sleep on. When the photos are done, the baby goes back to their own sleep space, on their back.
Step 4: feed, wrap, then pick up the phone
A full, warm baby sleeps; a hungry one does not. Feed right before you start, and dress the baby in loose clothes that open easily, so changing into a wrap does not wake anyone.
Expect breaks. Feeding, changing and settling are part of any newborn session, including ours, and a home session has the advantage that nobody is watching the clock. Plan generous time: most of it will go to feeding and settling, not to photographing.
A snug, simple wrap in a plain color is the easiest home pose: the baby on their back, arms tucked, photographed from above with the phone held level.
Step 5: phone settings that help
- Flash off. It flattens the light and wakes the baby.
- Tap on the baby’s face to focus, then slide the brightness down a little so the white wrap keeps its detail.
- Wipe the lens. Phones live in pockets, and a smudge turns window light into haze.
- Shoot from directly above for a baby lying down, and from your own eye level for a baby in someone’s arms.
- Use burst mode for yawns and stretches; newborn expressions last a second.
- Avoid digital zoom; move closer instead.
Step 6: put yourself in the pictures
Home photos tend to leave one person out: whoever was holding the phone. Use the self-timer with the phone propped on a shelf, or hand the phone to a grandparent for ten minutes.
Parents photograph best in solid colors without logos, and a plain top in a light or neutral shade keeps the attention on the baby. Hold the baby close to your chest with the window to one side, and look at the baby rather than the camera.
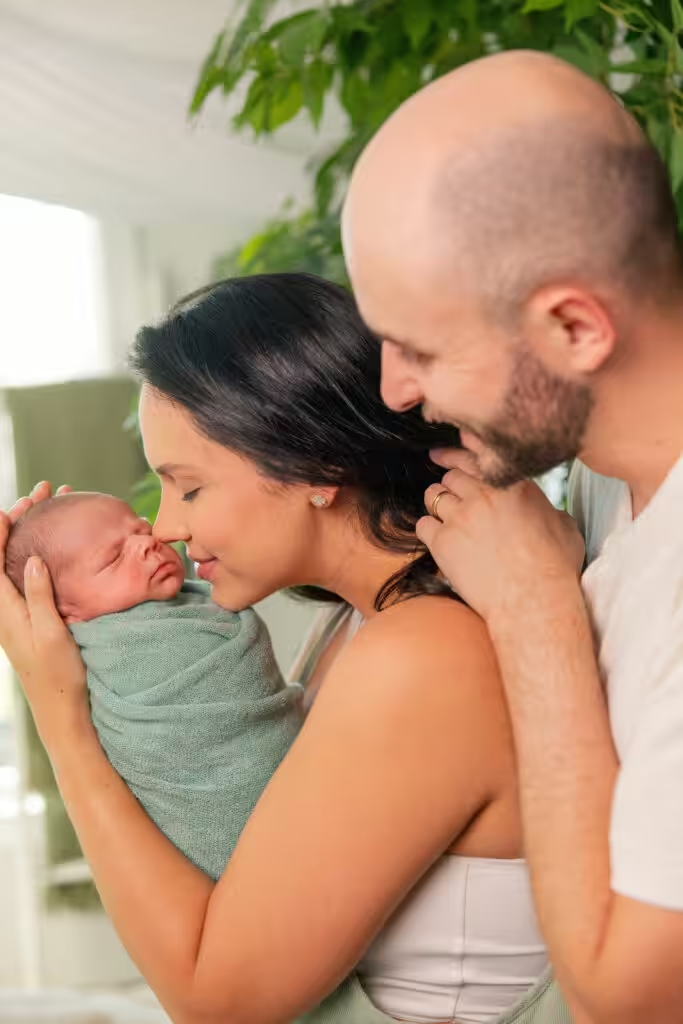
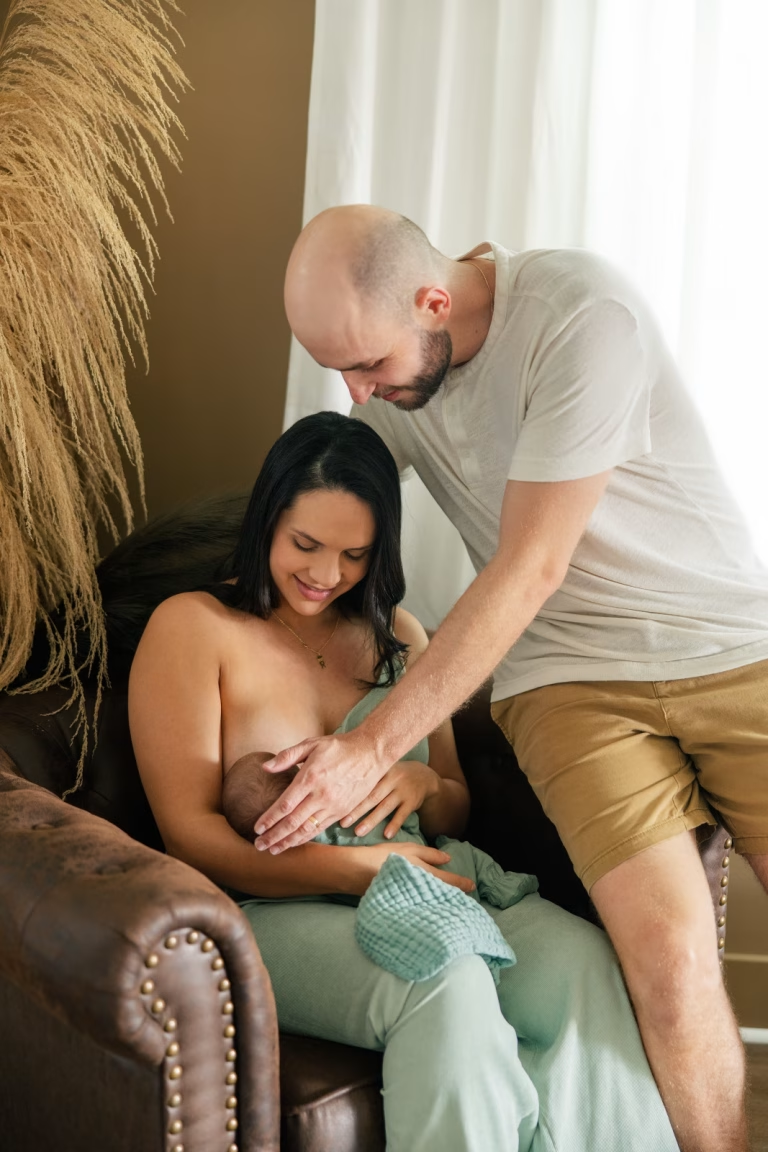
From José Bernardo’s newborn session: both parents in the frame, faces close to the baby, plain clothes, soft light from one side. With a self-timer and a steady shelf, the same kind of frame is within reach on your own sofa.
Older siblings and the family dog
Photograph an older child first, while patience lasts. Seat them on the floor or against the sofa back, place the baby in their arms, and keep your own hands under the baby, just out of frame.
The dog can be in the room and in a frame or two, with an adult in charge of the dog and another in charge of the baby. A home session is the one setting where the dog is part of the scenery rather than a guest.
A checklist to print before you start
Run through it the day before, and again ten minutes before the first photo.
The room
- Largest window chosen; no direct sunbeam on the set
- Ceiling lights and lamps off
- Room warmed before undressing; signs of overheating known
- Plain blanket or sheet ready as the background
The set
- Baby on the floor or the bed, never on a table, counter or dresser
- One adult within arm’s reach at all times
- No baskets, stacks or props raised off the floor
- Crib, if pictured, set up the way you will use it
The baby and the family
- Fed right before; loose clothes that open in front
- Wraps, diapers, wipes and burp cloths within reach
- Parents in plain, solid colors
- Siblings first; one adult for the dog
- Baby back in their own sleep space when you finish
The phone
- Lens wiped, flash off, storage cleared
- Self-timer or a helper ready for the family photo
When a photographer at home makes more sense
Doing it yourself is a good choice when the goal is a record of the first days. A photographer at home makes more sense when you want to be in the photos together, when the house is dark, when there are siblings and a dog to manage at once, or when you simply do not want the job.
That is the session we describe as the documentary version: photographed in your nursery and your own window light, with the older child climbing on the bed and the dog in at least one frame.
It also removes the drive, which matters for families who would rather not put a nine-day-old in a car seat. Our page for the Charleston newborn photographer service explains both options, in the studio and at home.
For the curled, sleepy look, the window is five to fourteen days after birth, so a date is held around your due date during pregnancy and confirmed after the baby arrives. If that is the session you want, book an in-home newborn session with Studio FB USA as soon as the due date is known.