


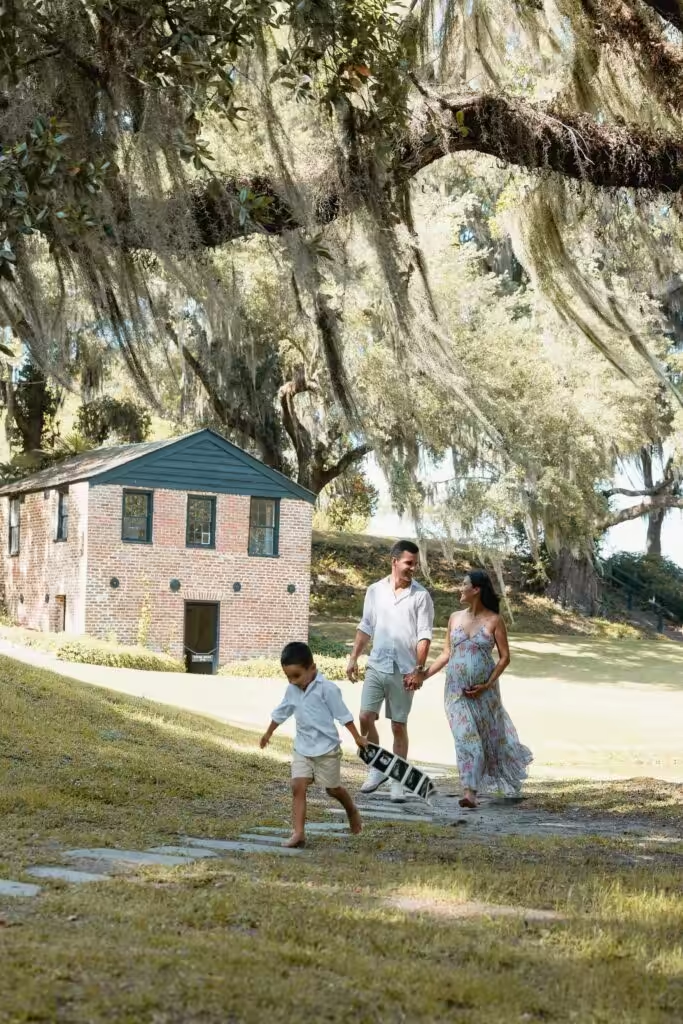
Under live oaks hung with Spanish moss, a small boy runs ahead of his parents, a strip of ultrasound prints flapping in his hand. His father and his pregnant mother follow, hand in hand, laughing. That frame from one of our on-location sessions holds the whole idea: the child is not posed, he is given something to do.
Maternity photos with a toddler come down to six decisions, in this order:
- Book inside the usual 28 to 34 week window, at an hour after your toddler’s nap and meal.
- Choose the setting by how your child behaves.
- Dress everyone for comfort, in one palette.
- Give your toddler one small job.
- Photograph the family frames first, then let your child rest while your own portraits continue.
- Keep the poses low, so nobody carries a toddler for long.
Step 1: Pick the week, then the hour
The week comes from the pregnancy; the hour comes from your toddler. We photograph most mothers between 28 and 34 weeks, when the belly is round but standing and changing are still comfortable. With twins, or if your doctor expects the baby early, we plan for about 26 to 30 weeks instead.
Inside that window, the hour matters more than the day. Our family session notes say it plainly for young children: schedule after a nap and a meal, not before.
Outdoors in the Lowcountry, the last hour before sunset gives the softest light. The question is whether that hour lands before your toddler’s evening routine falls apart. If it does not, choose the studio: under a roof, the hour is yours to pick, morning included.
Step 2: Choose the setting by how your toddler behaves
Here is the first real decision point. Answer it with your child in mind, not the picture you saved.
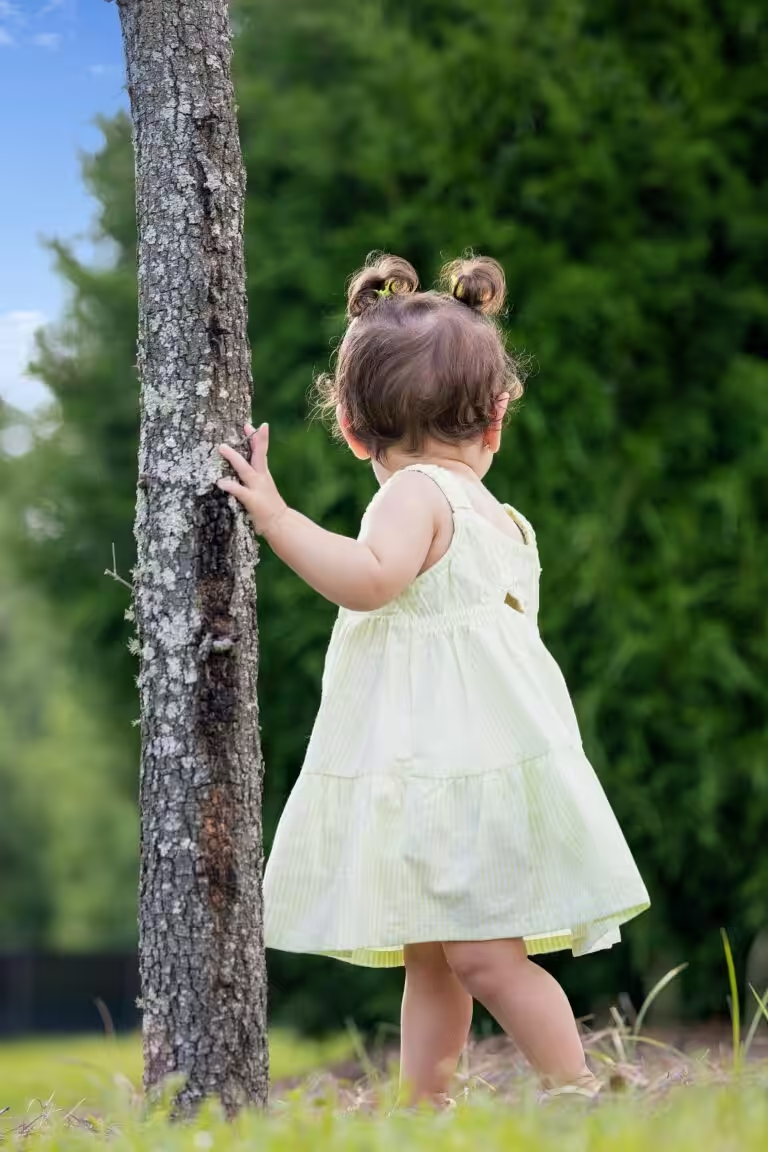
- If your toddler runs: go outdoors. Live oaks, a marsh edge or open grass give a child room, and the photo above is what running can look like when it is planned for.
- If your toddler clings or tires quickly: choose the studio. As our family page puts it, small children stay contained there, and nothing depends on the sky.
- If the session falls in July or August: the studio again. Our maternity notes describe coastal humidity and afternoon storms as the rule in those months, and a pregnant mother and a hot two-year-old are a hard combination outdoors.
- If you want both looks: a session can begin in the studio and finish outside when the timing allows.
Step 3: Dress the toddler for comfort, in your palette
Start from the mother’s outfit, because it is the one that will be most visible. Then dress your toddler in simple clothing without large prints or logos, in a color that sits near yours in tone. Coordinate, do not match: neutral and earth tones work with our backdrops and outdoors alike.
Comfort is not optional for a small child. One of our family session pages notes that discomfort shows in every frame; with a toddler it also shortens the session. Try the outfit on a week before, skip anything stiff or itchy, and pack a spare.
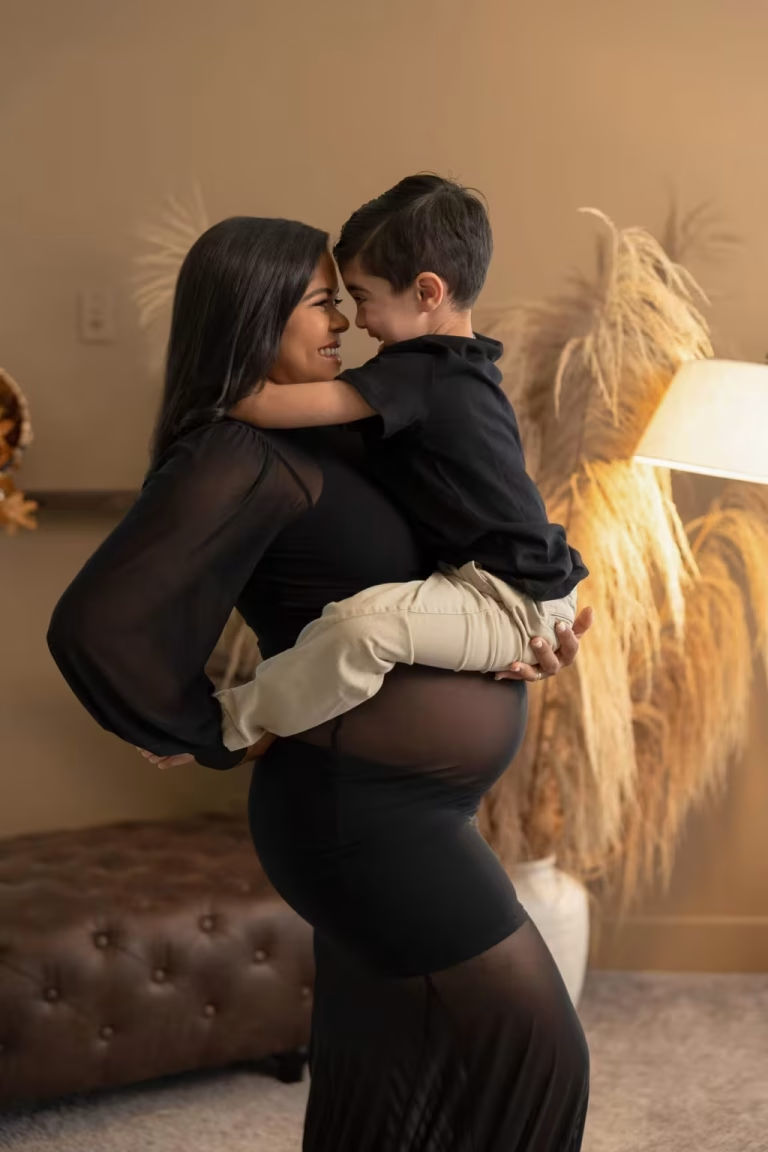
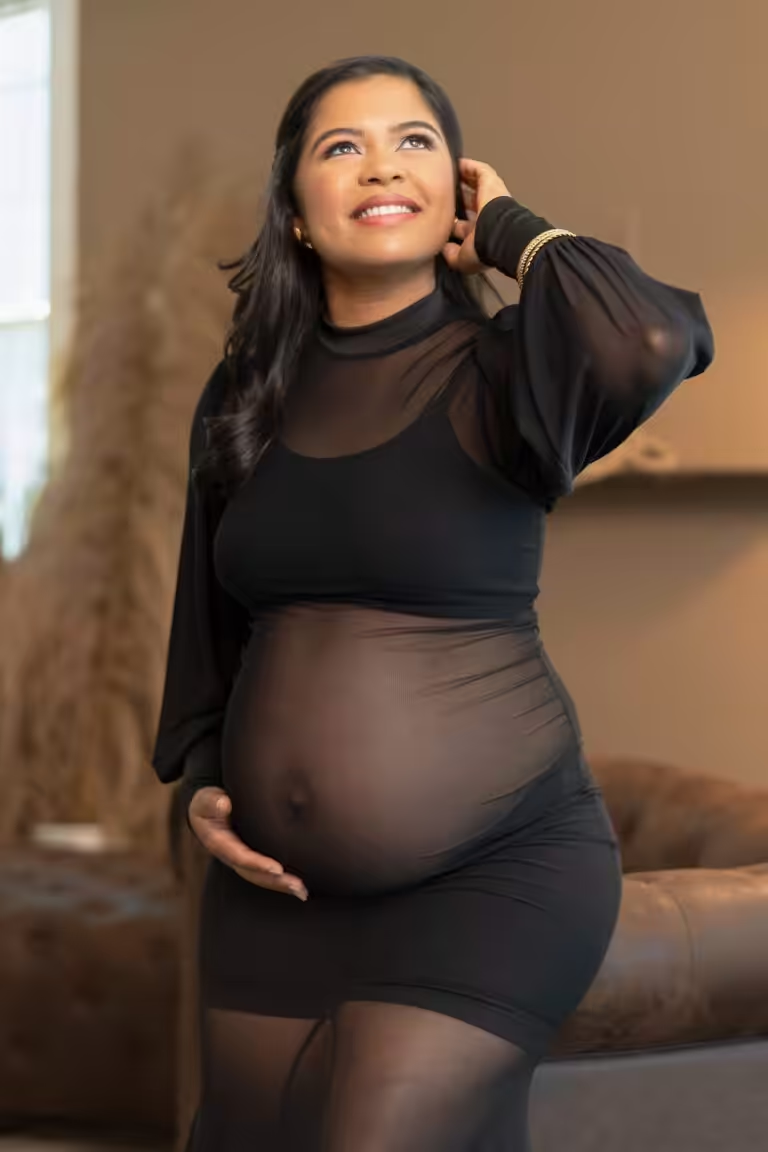
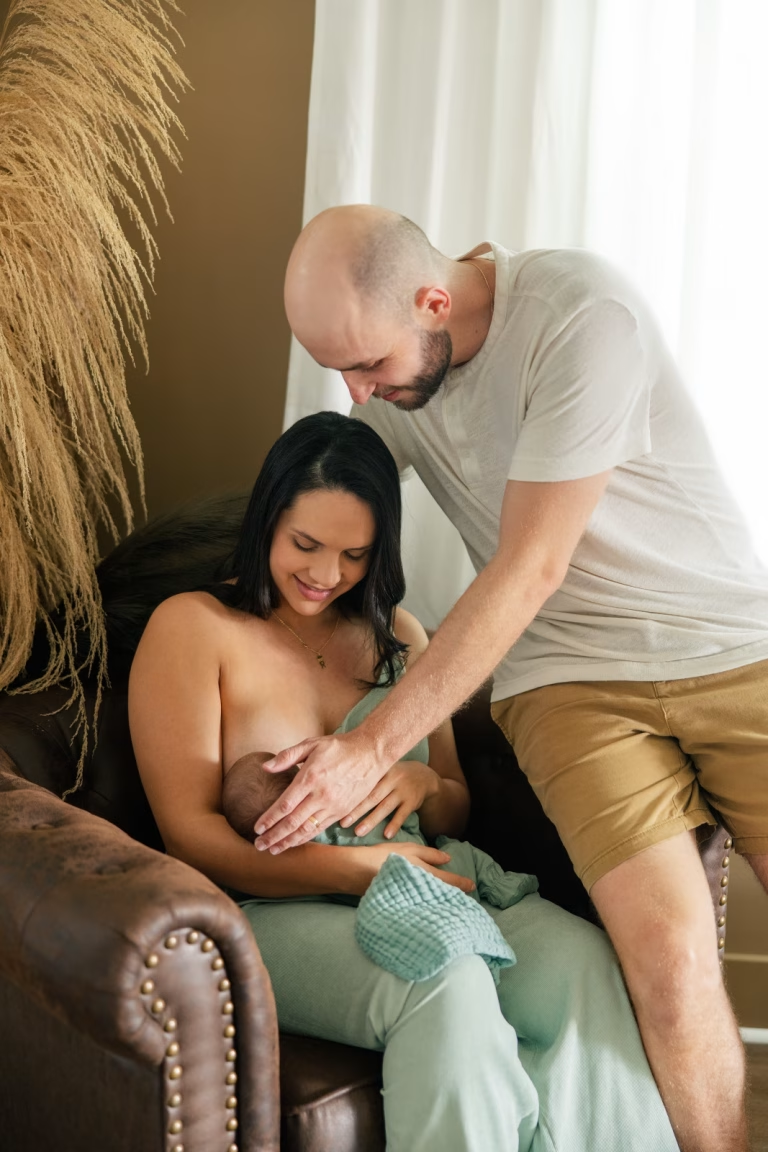
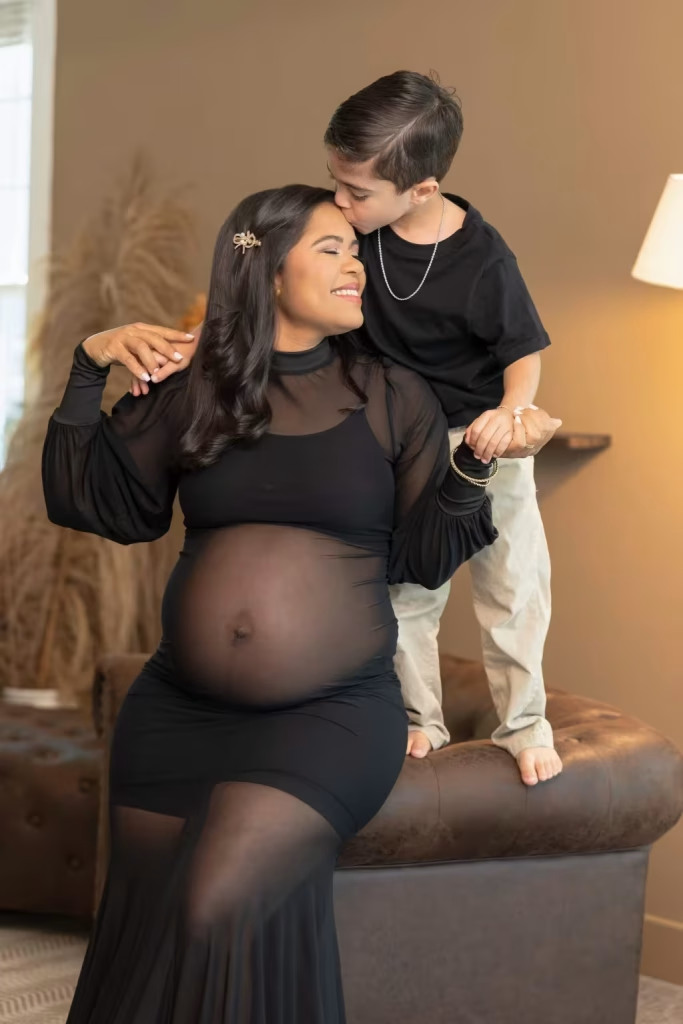
In Juliana’s maternity session, she wears a sheer black gown and her son a plain black T-shirt with light trousers: one color shared, nothing stiff, nothing printed.
Step 4: Give your toddler one small job
A toddler asked to smile at a camera gives you a forced grin or a turned back. A toddler holding something important gives you a real face. The jobs that work are small and physical:
- carrying the ultrasound strip, as in the photo above;
- kissing the bump, or putting an ear to it to “listen to the baby”;
- resting both hands on the belly next to yours;
- holding a small toy meant for the new baby;
- whispering a secret to the bump while you laugh.
Pick one or two and practice them at home as a game, not a rehearsal. On the day, a job your child already knows is easier than a new one.
Step 5: Family frames first, then let your toddler rest
Few parents think to ask about the order of the session. When children come to a maternity session, we photograph the family portion first, while they are fresh, and the mother’s portraits continue afterwards while the kids relax. That order puts the frames that need a cooperative toddler at the start, when cooperation is most likely.
That order also makes a second adult worth having. While you are in front of the camera alone, someone keeps your child happy, fed and out of the frame. Usually that is your partner; if your partner is in the portraits too, bring a grandparent or a friend. For the frames with just the two of you, see our ideas for couple maternity photos.
Step 6: Keep the poses low and the lifting light
The featured photo at the top of this post, from Juliana’s session, solves a common late-pregnancy problem. Instead of holding her son on her hip, Juliana sits on the edge of a leather sofa and he stands on the seat beside her, tall enough to kiss the top of her head. Their faces are at the same height and nobody is carrying anybody.
A child standing on a step, a chair or a sofa, or sitting in your lap while you sit, gives the same closeness without the strain. If your doctor or midwife has asked you to limit lifting, tell us when you book and the session is built around those poses. You can sit whenever you need to, and nothing is rushed to fit a clock.
If your toddler says no
Sometimes the answer is simply no. Pushing harder rarely works with a two-year-old, so the useful decision is what to do instead:
- A refusal at the start: begin with your own portraits and let the toddler watch from the side. Many children ask to join once they see a parent having fun.
- A meltdown halfway through: stop, feed, change the scene. A snack break costs ten minutes; a forced frame costs the rest of the session.
- Only one good frame: that can be enough. One true photo of your child with the bump is the picture families keep.
Your toddler again, a few weeks later
If you also want photos of the baby, plan both sessions together. When the two are discussed at booking, we pencil in a newborn date near your due date. Siblings are photographed early in the newborn session, while their patience lasts.
Your toddler will be a big brother or sister in the second gallery, and the two sets will share the same light and editing. Our page on newborn photography in Summerville and Charleston explains how that second session works.
A bag list for the session day
Print this and pack the night before:
- ☐ Your toddler’s outfit, plus a full spare
- ☐ Snacks that do not stain clothes or faces, and water for both of you
- ☐ The ultrasound strip, toy or other object for your child’s job
- ☐ A favorite comfort item, kept out of sight until it is needed
- ☐ Wipes and a small towel
- ☐ Your outfits, and comfortable shoes to wear between setups
- ☐ A second adult, by name, to look after your toddler during your portraits
- ☐ Nap and meal times written down, so the session hour is set around them
With that bag packed, the rest is our job. Tell us your due date and your toddler’s age, and we will plan your maternity session with Studio FB USA around both. You can see more of how we work on our page about maternity photography in Charleston.