




A LinkedIn photo works less like a portrait and more like a road sign. It is read in a glance, at a small size, next to your name in a search result, a comment or a message. The LinkedIn headshot tips that matter are the ones that keep a face readable at that size.
In short: crop to head and shoulders so your face fills about 60% of the frame, let someone else take the photo, wear what you wear to work and keep the background plain. Plan the banner as a separate image, make sure the photo still looks like you, and replace it every two to three years.
Each of those tips answers a common belief that does not hold up. LinkedIn’s own guidance is the proof.
Myth 1: “Any good photo of me will do”
A photo can be good and still fail on LinkedIn, because LinkedIn shows it as a circle. A circle cut from a square loses the four corners, about 21% of the area, and it is often displayed small.
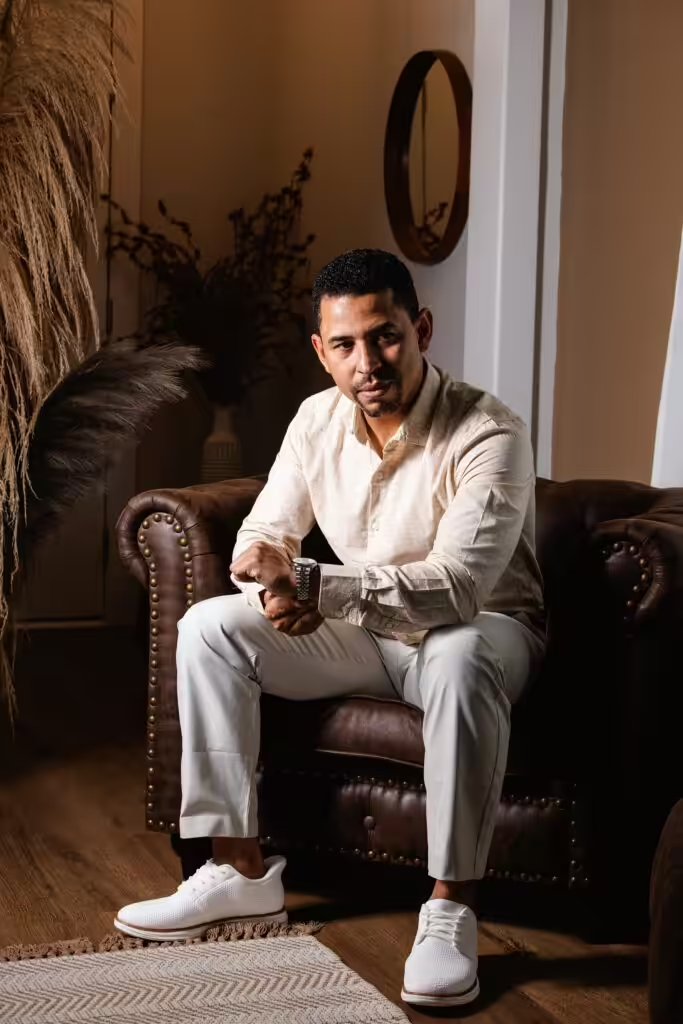
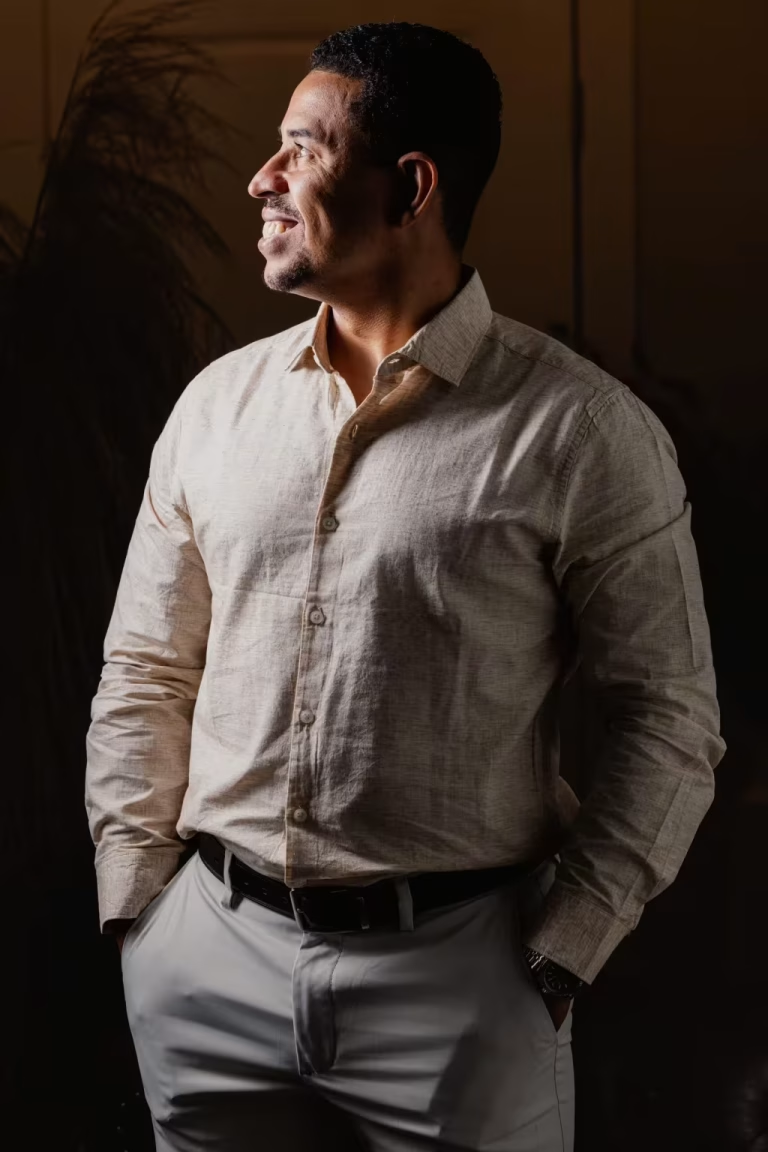
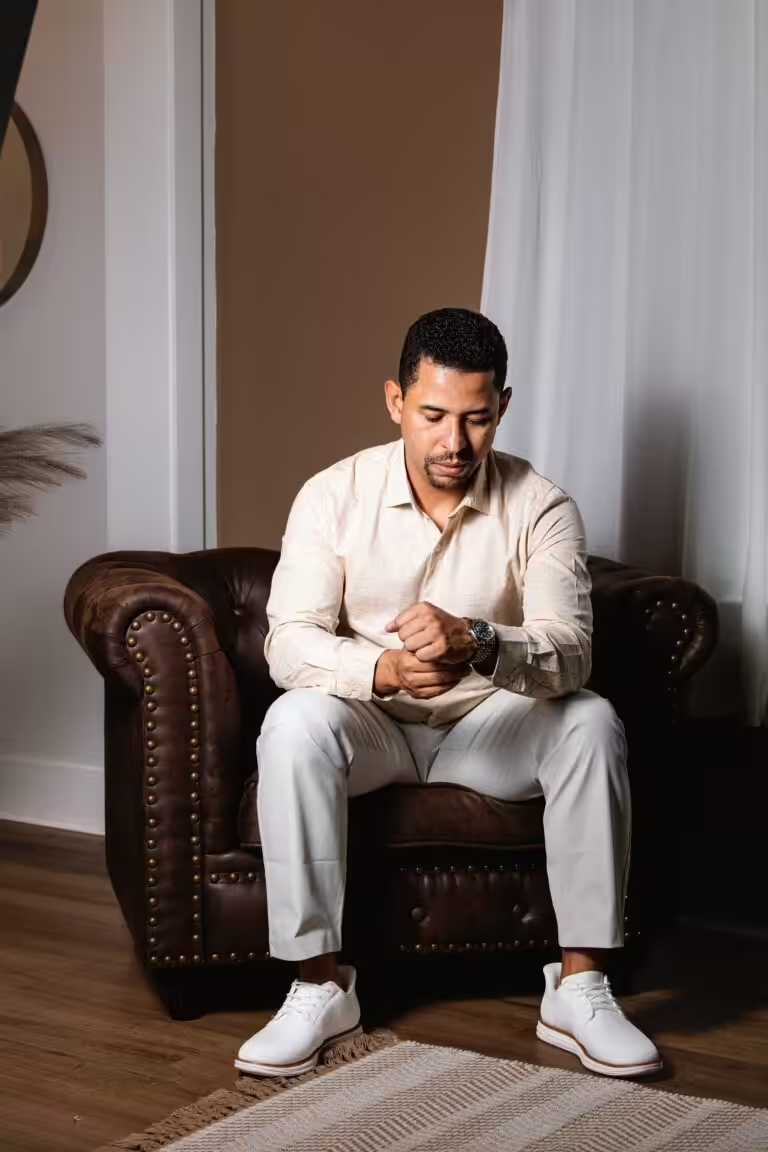
The frame above, from a branding session, is a strong website portrait. As a LinkedIn photo it would fail: in a small circle, the armchair and the room take most of the space and the face becomes a dot.
The fix is a tight crop. A 2024 post on LinkedIn’s Talent Blog recommends that your face take up about 60% of the frame, cropped from the top of the shoulders to just above the head. Our commercial page describes the same idea from the photographer’s side: leave enough room around the shoulders that a designer can crop square, round or wide without cutting into the face.
A worked example: one studio file, three crops
Numbers make the crop easier to picture. Take the headshot at the top of this page, a vertical studio frame 1,707 pixels wide and 2,560 pixels tall.
| Use | Crop from the studio file | What LinkedIn asks for | Check |
|---|---|---|---|
| Profile photo | A square of 1,707 × 1,707 px around head and shoulders; a face about 1,000 px tall fills close to 60% | Between 400 × 400 and 7,680 × 4,320 px, JPG or PNG, up to 8 MB | Over four times the minimum width: room to crop tighter later |
| Circle preview | The same square, minus the corners | Shown as a circle | Nothing important within the outer fifth of the square |
| Background (banner) image | Needs a horizontal frame, about 4 to 1; a vertical headshot cannot supply it | 1,584 × 396 px recommended, JPG or PNG, under 8 MB | Plan a separate wide frame at the session |
Sizes and formats are from LinkedIn’s Help Center pages for the profile photo and the background photo. The practical lesson is the last row: the banner is a different picture, not a stretched copy of the headshot.
Myth 2: “A selfie is fine if the light is good”
The same LinkedIn post advises asking someone else to take it. On most phones the front camera produces a lower-quality image than the rear camera, and it can save a mirrored image that flips any lettering on your clothes. A selfie also keeps the camera at arm’s length, close enough to distort the face.
Light and expression are the other half. The same post recommends soft, natural light: an overcast sky, open shade, or a window in front of you rather than behind you.
On the smile, it says a serious look is fine if your brand is serious, but smiling generally makes you look more approachable. In a studio the light is built rather than found, as our commercial page puts it, so the only variable left is your face.
That is where direction comes in. Most people have a preferred side and a natural expression that shows up after the first few minutes in front of a camera. Finding it is the photographer’s job. Our guide to headshot poses shows how shoulders, chin and hands are set before the expression.
Myth 3: “Professional means a dark suit on a gray background”
LinkedIn recommends wearing what you would wear to work, and notes that solid colors tend to do best on camera. If your office runs on jeans and a button-down, a suit makes the photo less like you, not more professional.
The background follows the same logic. Our commercial page chooses it for where the image will sit: a light ground for a light website, a dark one for a dark presentation. On LinkedIn, the photo sits on a light or dark page in front of your banner, so pick a background that separates you from both.
The headshot at the top of this page uses a warm brown backdrop that matches the jacket and still lets the face stand out.
Myth 4: “The banner is just decoration”
The cover image is the widest picture on your profile, and LinkedIn’s Help Center notes that it appears behind your profile photo in the introduction section. The two are seen together, so plan them together. LinkedIn’s Talent Blog suggests the banner for what does not belong in the headshot: a team photo, your workplace, the details of what you do.
Keep the important part of the banner away from the area your round photo covers, and choose a photo over a logo: the Help Center says photos look better there than images with logos.
That is exactly what a branding session produces. The studio notes on the page for Gabi’s branding session describe a shot list that includes horizontal frames with clean space for text, the kind website headers and social graphics need. Ask for one wide frame with room on one side, and the banner and the headshot will come from the same light and the same day.
Myth 5: “An AI headshot will pass”
The Help Center allows an illustration or a caricature, but the profile photo must reflect your likeness. LinkedIn’s Professional Community Policies list an image that is not your likeness among the signs of a fake profile, and in October 2022 the company announced a model that checks uploaded profile photos for AI generation.
An AI image that looks like a polished stranger fails the test that matters most: the person on the video call has to match the photo.
Retouching is a different thing. Our headshots are retouched conservatively, removing blemishes and stray hairs and evening out skin, and nothing about the face is changed. A headshot has to survive the moment a client meets you.
Myth 6: “The filters will fix it later”
The built-in editor offers crop, filters, adjustments for brightness and contrast, position and size, and rotation. Those tools can tidy a good photo; they cannot fix hard overhead light, a cluttered room or a face that is too small in the frame. Use the crop to center your face, check the result on a phone, and leave the filters subtle.
While you are in the editor, check the visibility setting. According to the Help Center, the default is anyone, and you can narrow it to all LinkedIn members, your network or first-degree connections. The narrower settings hide your photo from recruiters and clients you are not yet connected to. The options are listed on LinkedIn’s profile photo visibility help page.
Myth 7: “Once you have one, you are set for years”
LinkedIn asks for a photo that is recent and looks like you on a normal day: your hair, your glasses, your facial hair. Our practical rule is every two to three years, or sooner after a real change in appearance, role or company. A new job is the easiest reminder, because the headline changes anyway.
If your company is adding people, consistency matters as much as freshness. A team photographed with one background, one lighting setup and one framing looks like a team on LinkedIn as well as on the website.
The decision in four lines
- If your current photo is a crop of a group shot, a selfie or more than three years old, replace it.
- If your face fills less than about half the circle on your phone, recrop before you reshoot.
- If your banner is still the default, plan a wide frame with space for text at your next session.
- If you need the photo for a job search, a new role or a team page, book a directed session rather than a phone in the hallway.
For clothes, glasses and the night before, see our guide on how to prepare for a headshot.
When you are ready, see our professional headshots in Charleston, photographed at the studio in Summerville or at your workplace, then book a headshot session with Studio FB USA and mention that LinkedIn is the first place the photo will go.